Use case · Activewear and outdoor
Generate activewear and outdoor photos from your product references
Supply front, back, seam and logo photos. Your assistant proposes Product page set, shows the credit estimate, and flags missing full-length views before generation.
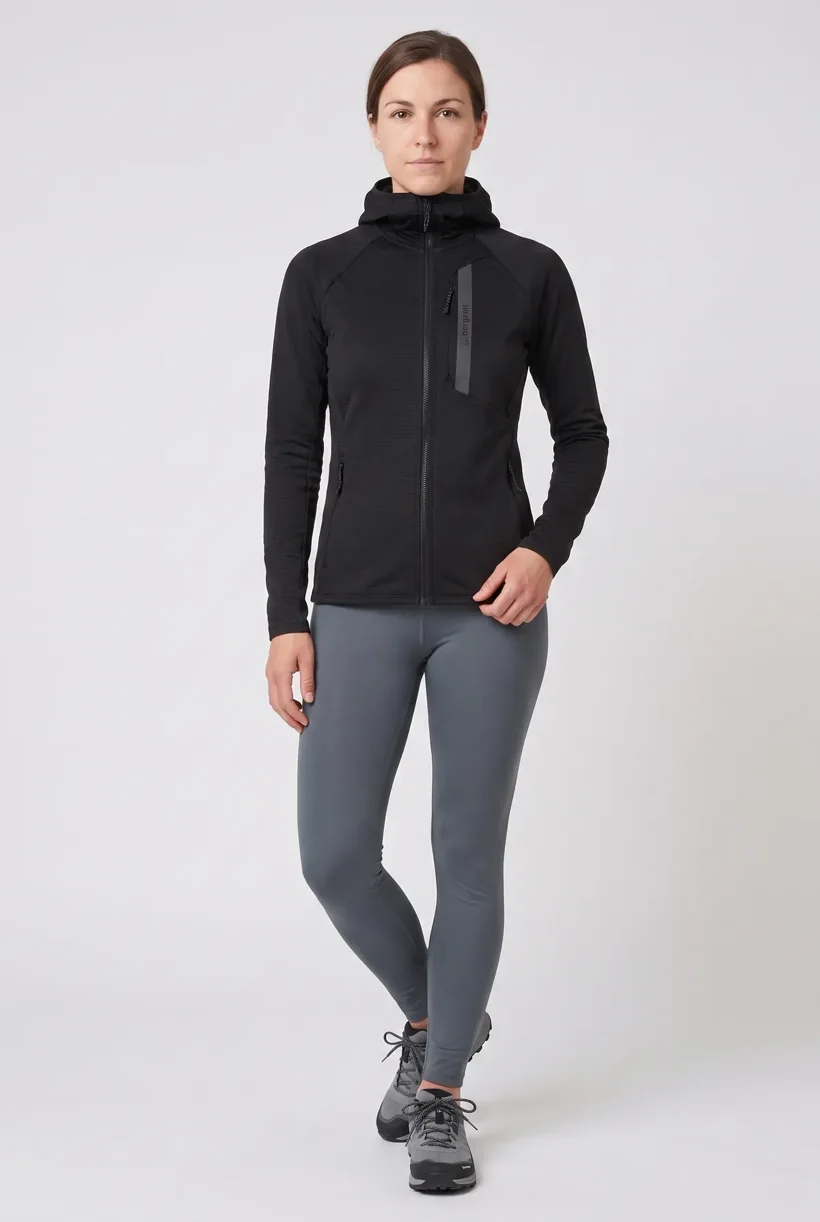
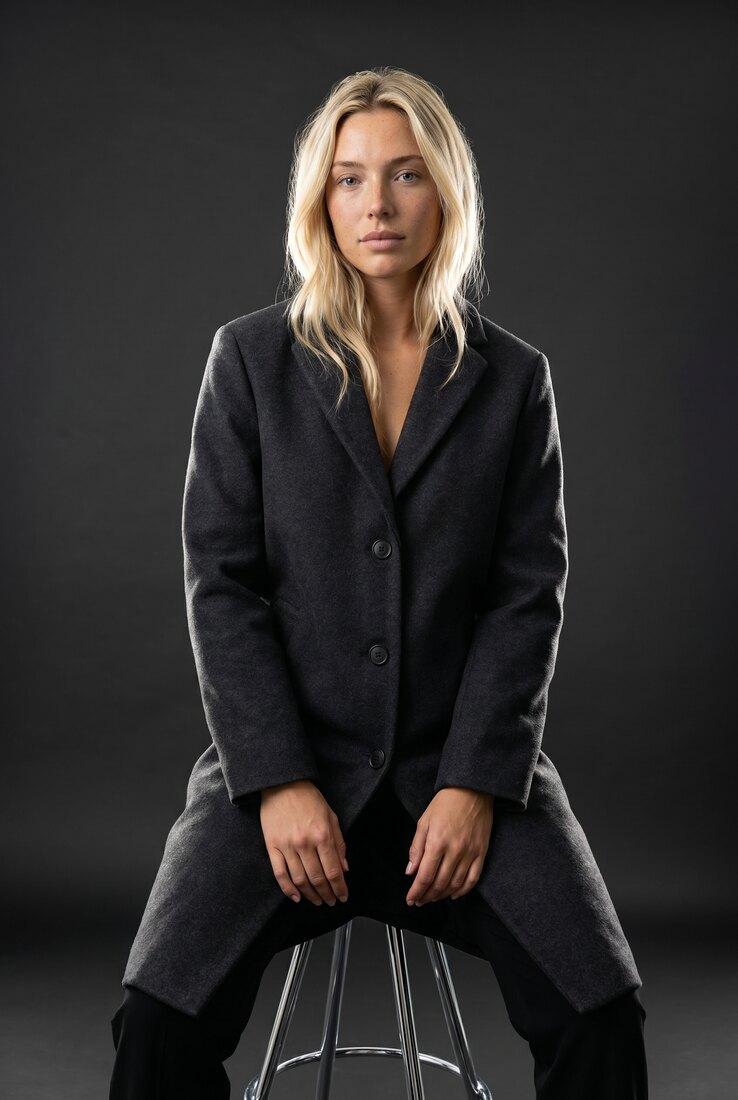
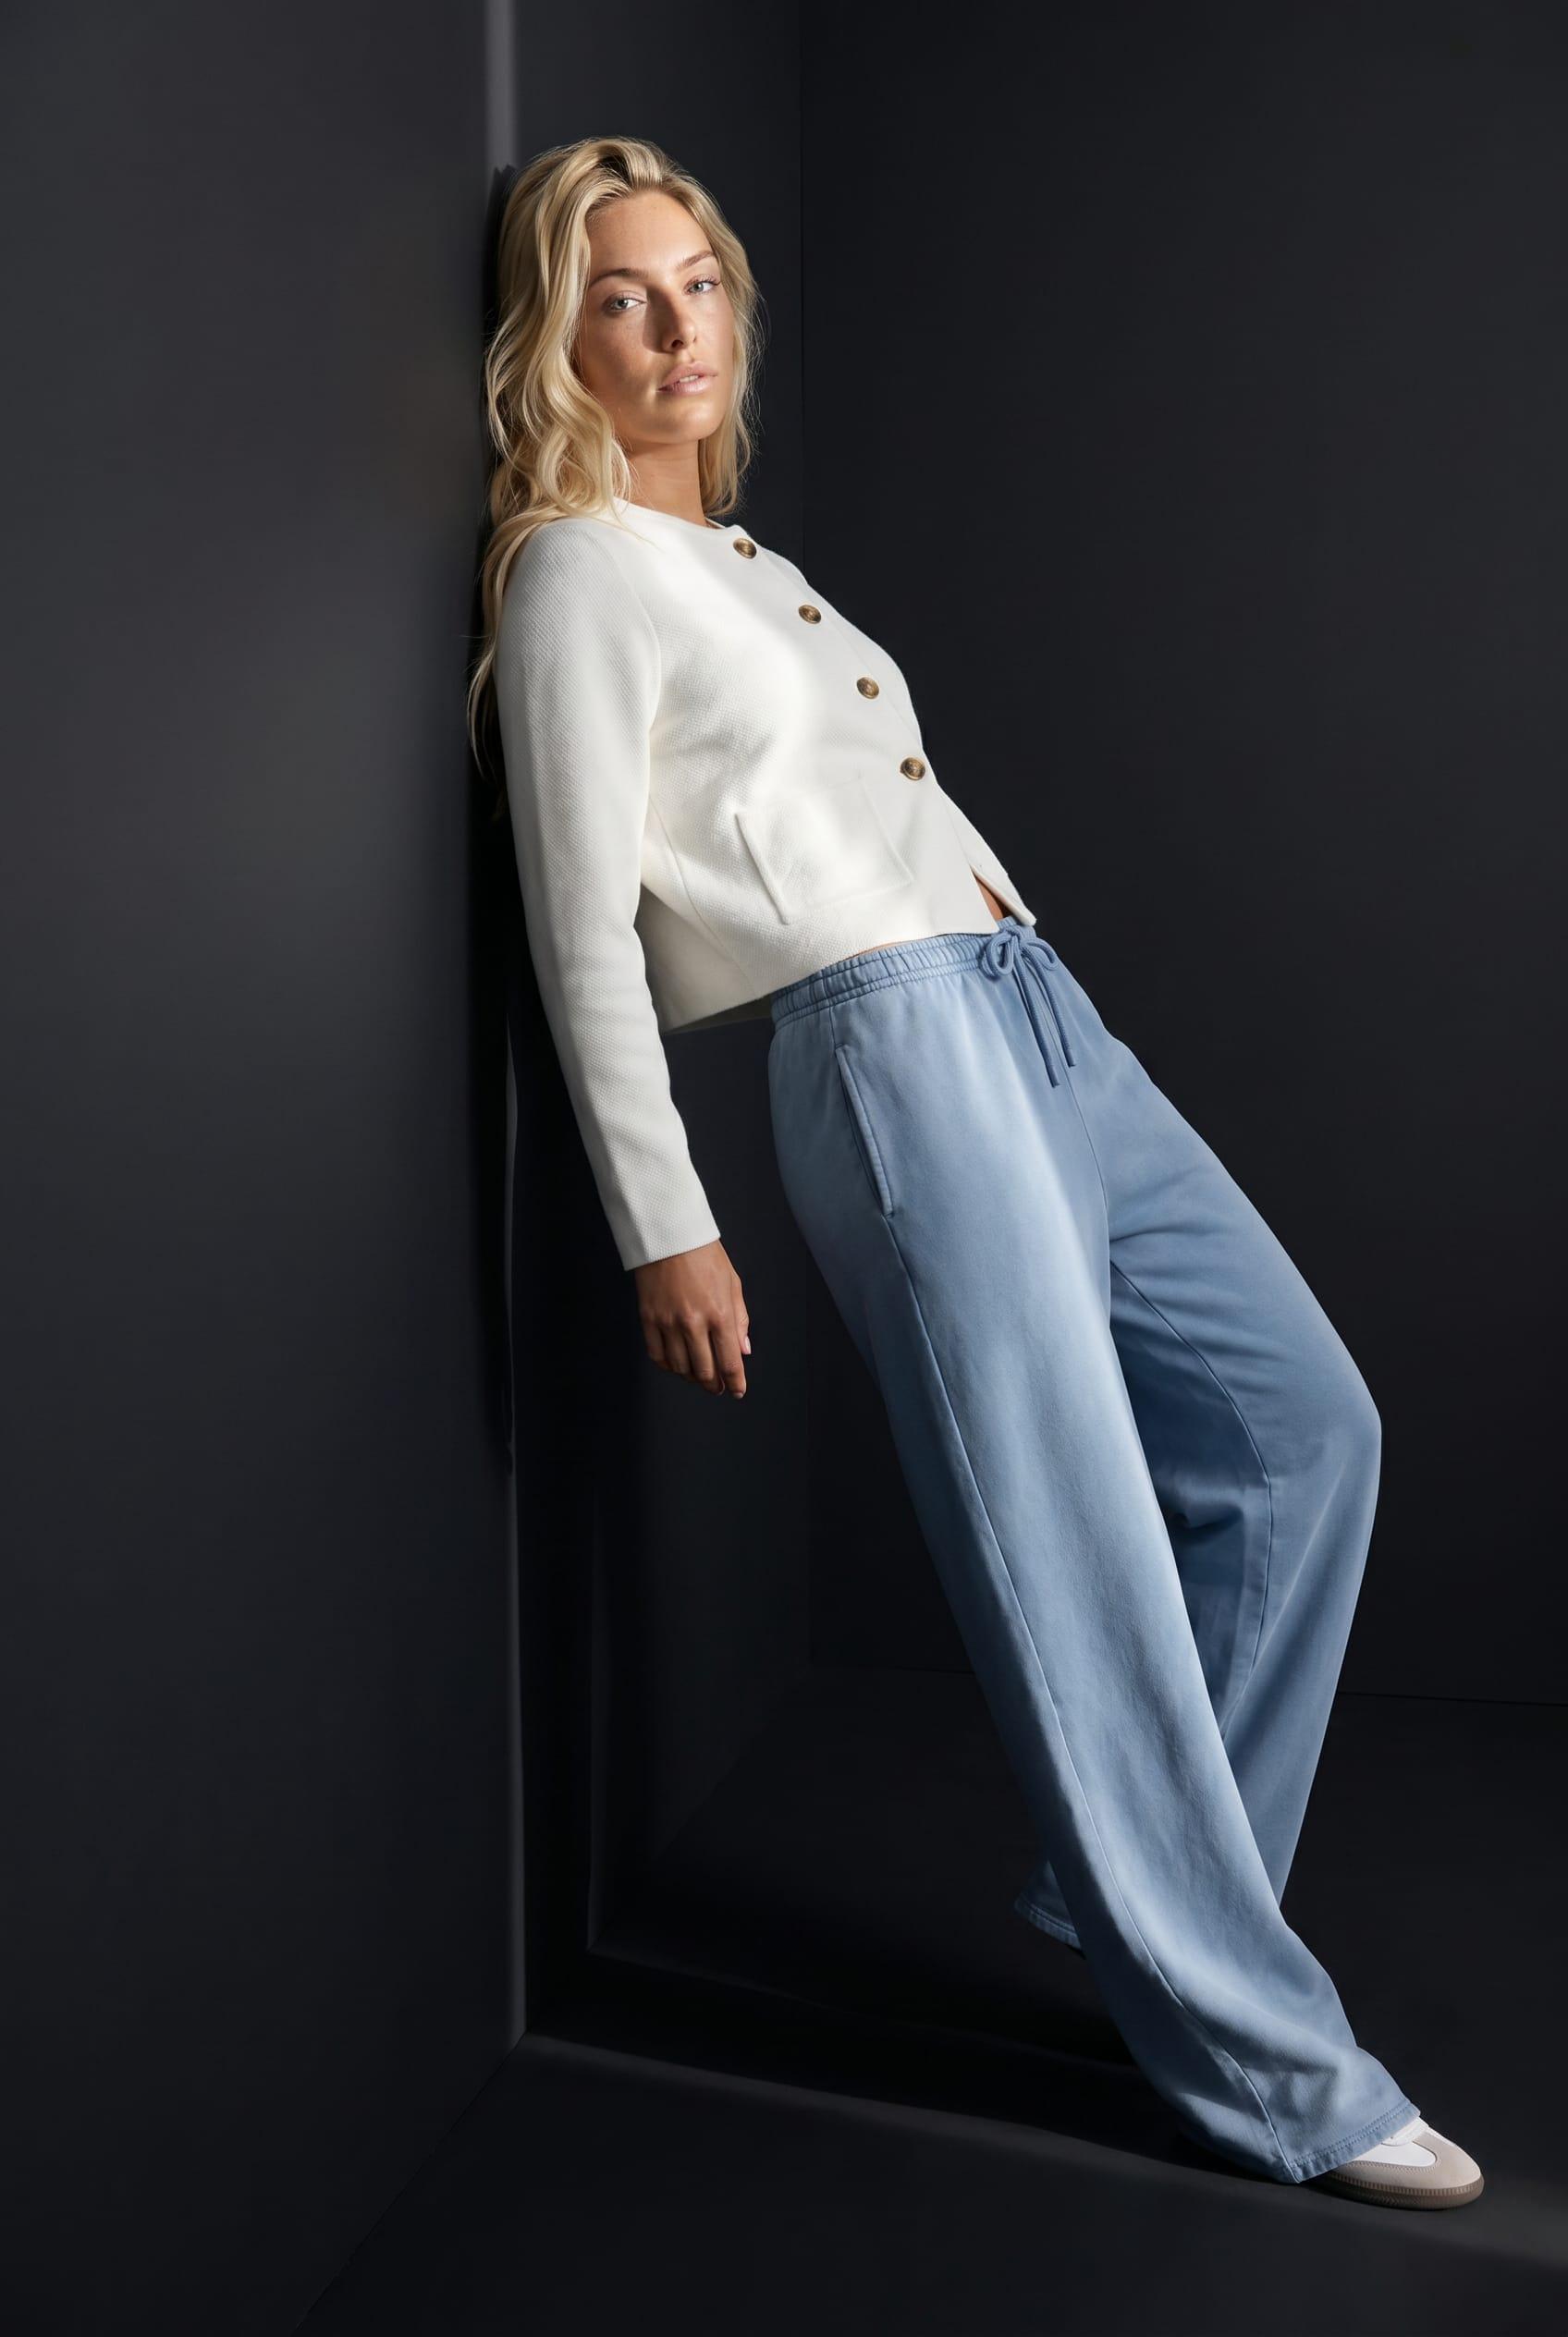
Uwear library example: hooded fleece jacket, generated with nano-banana-pro in Basic white photoshoot. This example shows styling, not garment performance.
Production signals
- Source photos guide the brief
- Cost approval before generation
- Automatic QA, on or off
Mechanism
How does the assistant build the photo set?
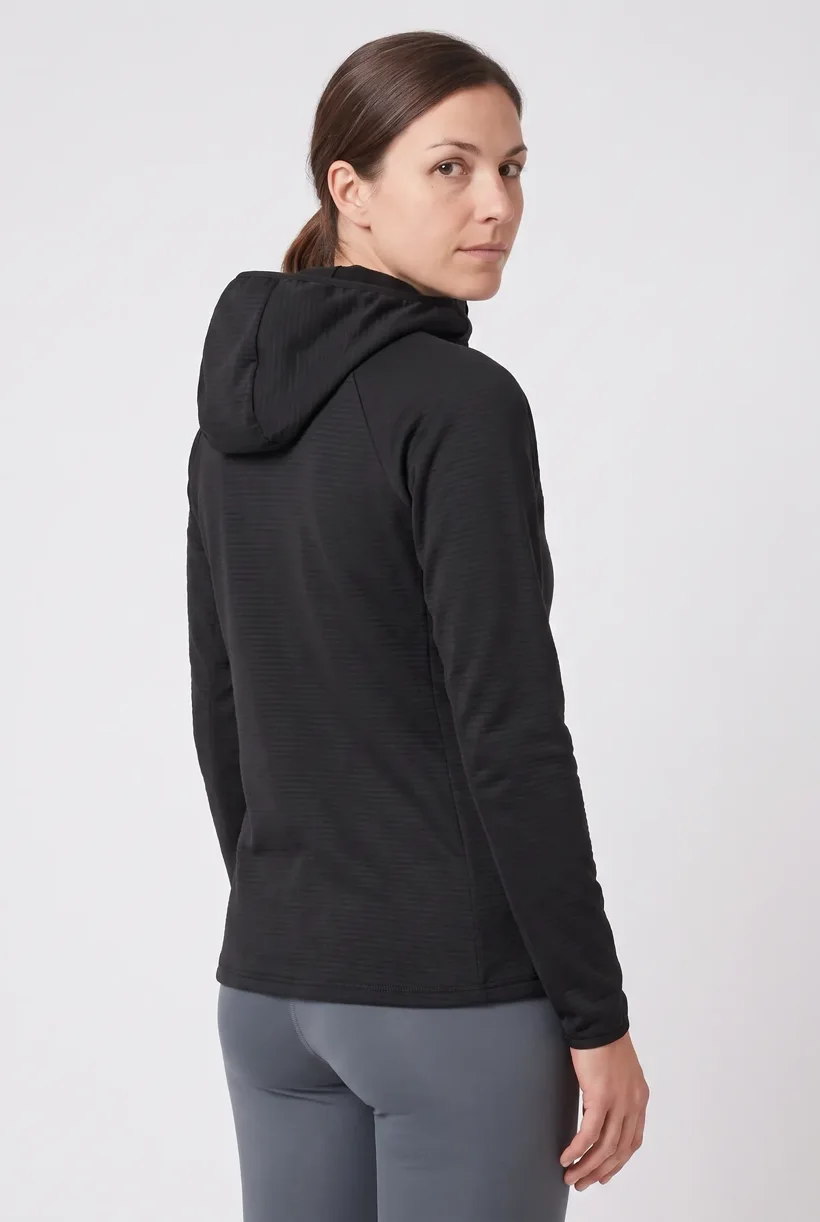
Ask the Uwear MCP to propose Product page set with Basic white photoshoot. Review full-length leg references and flag unsuitable default crops before approving the brief.
Workflow
The production loop
Compare the results
QA is automatic and toggleable: when on, an AI reviewer compares results with source photos and retries flagged results.[8]
Outcomes
What this unlocks
Check full-length framing
Leggings need full-length leg references. Test the framing: the default upper-body crop cannot show the whole leg. An activity pose does not establish compression, waterproofing or performance.[1][2][3][8]
Check the destination brief
Zalando’s sports guide asks for styling matched to the activity, compatible shoes, consistent drawstring lengths and visible construction. Its AI/model eligibility wording remains unresolved. Confirm eligibility before submitting generated model photos.[5][6]
Run it from your assistant
Run this photoshoot from your AI assistant with a Uwear template.
Connect the Uwear MCP server to ChatGPT, Claude, or Codex and ask for the Product page set template. It is a batch workflow that runs once per garment: front, upper-body, and back product-page shots on a white studio background, plus a 360-degree video, from one garment photo. Any Uwear account can load it by name, and the assistant shows a costed brief in credits before generation starts.
For a separate activity campaign, propose Instagram drop with Low-Angle Concrete Flash Studio. An outdoor setting is a brief choice; the direction does not prove terrain or technical performance.
Copy this prompt into your assistant
Use the Uwear MCP to propose a Product page set with Basic white photoshoot on Pure White, using nano-banana-pro, for my uploaded activewear. Review the front, back, logo, seam and fastening references. Flag missing full-length views and any unsuitable default crop. Show the costed brief in credits and wait for approval. Enable the AI reviewer for automatic QA to compare and retry, then return image and video URLs. Do not treat a generated activity pose as evidence of garment performance.
What one run does, per garment
Generate the front hero
One full-body front photo of the garment on the template model, in the Basic white photoshoot art direction on the Pure White studio location.
Edit to the upper-body crop
A camera edit that reframes the front result to an upper-body front frame instead of generating a new image, so the crop comes from the same session as the hero.
Edit to the back view
A second camera edit of the front result to a full-body back frame, so the product page gets the back of the garment from the same session.
Render the 360 turn
A 5-second Kling 3 Pro video from the front photo: the model turns a slow, full 360 degrees in place, garment readable throughout.
Outputs per garment
- Full-body front photo, 2K, 2:3
- Upper-body front photo, 2K, 2:3
- Full-body back photo, 2K, 2:3
- 5-second 360-degree video
The setup the template pins
- Template kind
- Batch workflow: runs once per garment row
- System key
- demo_full_pdp_test_white_studio
- Art direction
- Basic white photoshoot is the starting system art direction. For a separate urban training campaign, propose Instagram drop with Low-Angle Concrete Flash Studio.
- Location
- Pure White (system studio location)
- Model
- The Uwear system model by default; the assistant can swap in one of your saved models when it proposes the brief
- Image model
- nano-banana-pro, 2K, 2:3
- Video model
- Kling 3 Pro, 5 seconds
- QA
- Optional. With the AI reviewer on, each result is checked against the source product photo and flagged results are retried
- Approval
- The assistant shows a costed brief in credits before anything generates
Frequently asked questions
QA is automatic and toggleable: when on, an AI reviewer compares results with source photos and retries flagged results. Use the Uwear MCP first. Credits cost $0.10 per credit; see /models for model rates. The REST API is the fallback for pure automation, with polling or callbacks. Studio is the manual path.[8]
Sources and access dates
- [1]Arc’teryx: technical jacket views
Accessed 2026-09-07
- [2]Gymshark: waistband and logo details
Accessed 2026-09-07
- [3]lululemon: selected leg length
Accessed 2026-09-07
- [5]Zalando: sports styling and views
Accessed 2026-09-07
- [6]Zalando: AI and model eligibility
Accessed 2026-09-07
- [8]Uwear: capability specification
Accessed 2026-09-07
- [9]Uwear: segment pairing specification
Accessed 2026-09-07
Next step
Map this workflow into your catalog operation.
Start with the Uwear MCP. Use the asynchronous REST API for pure automation and Studio for manual work.