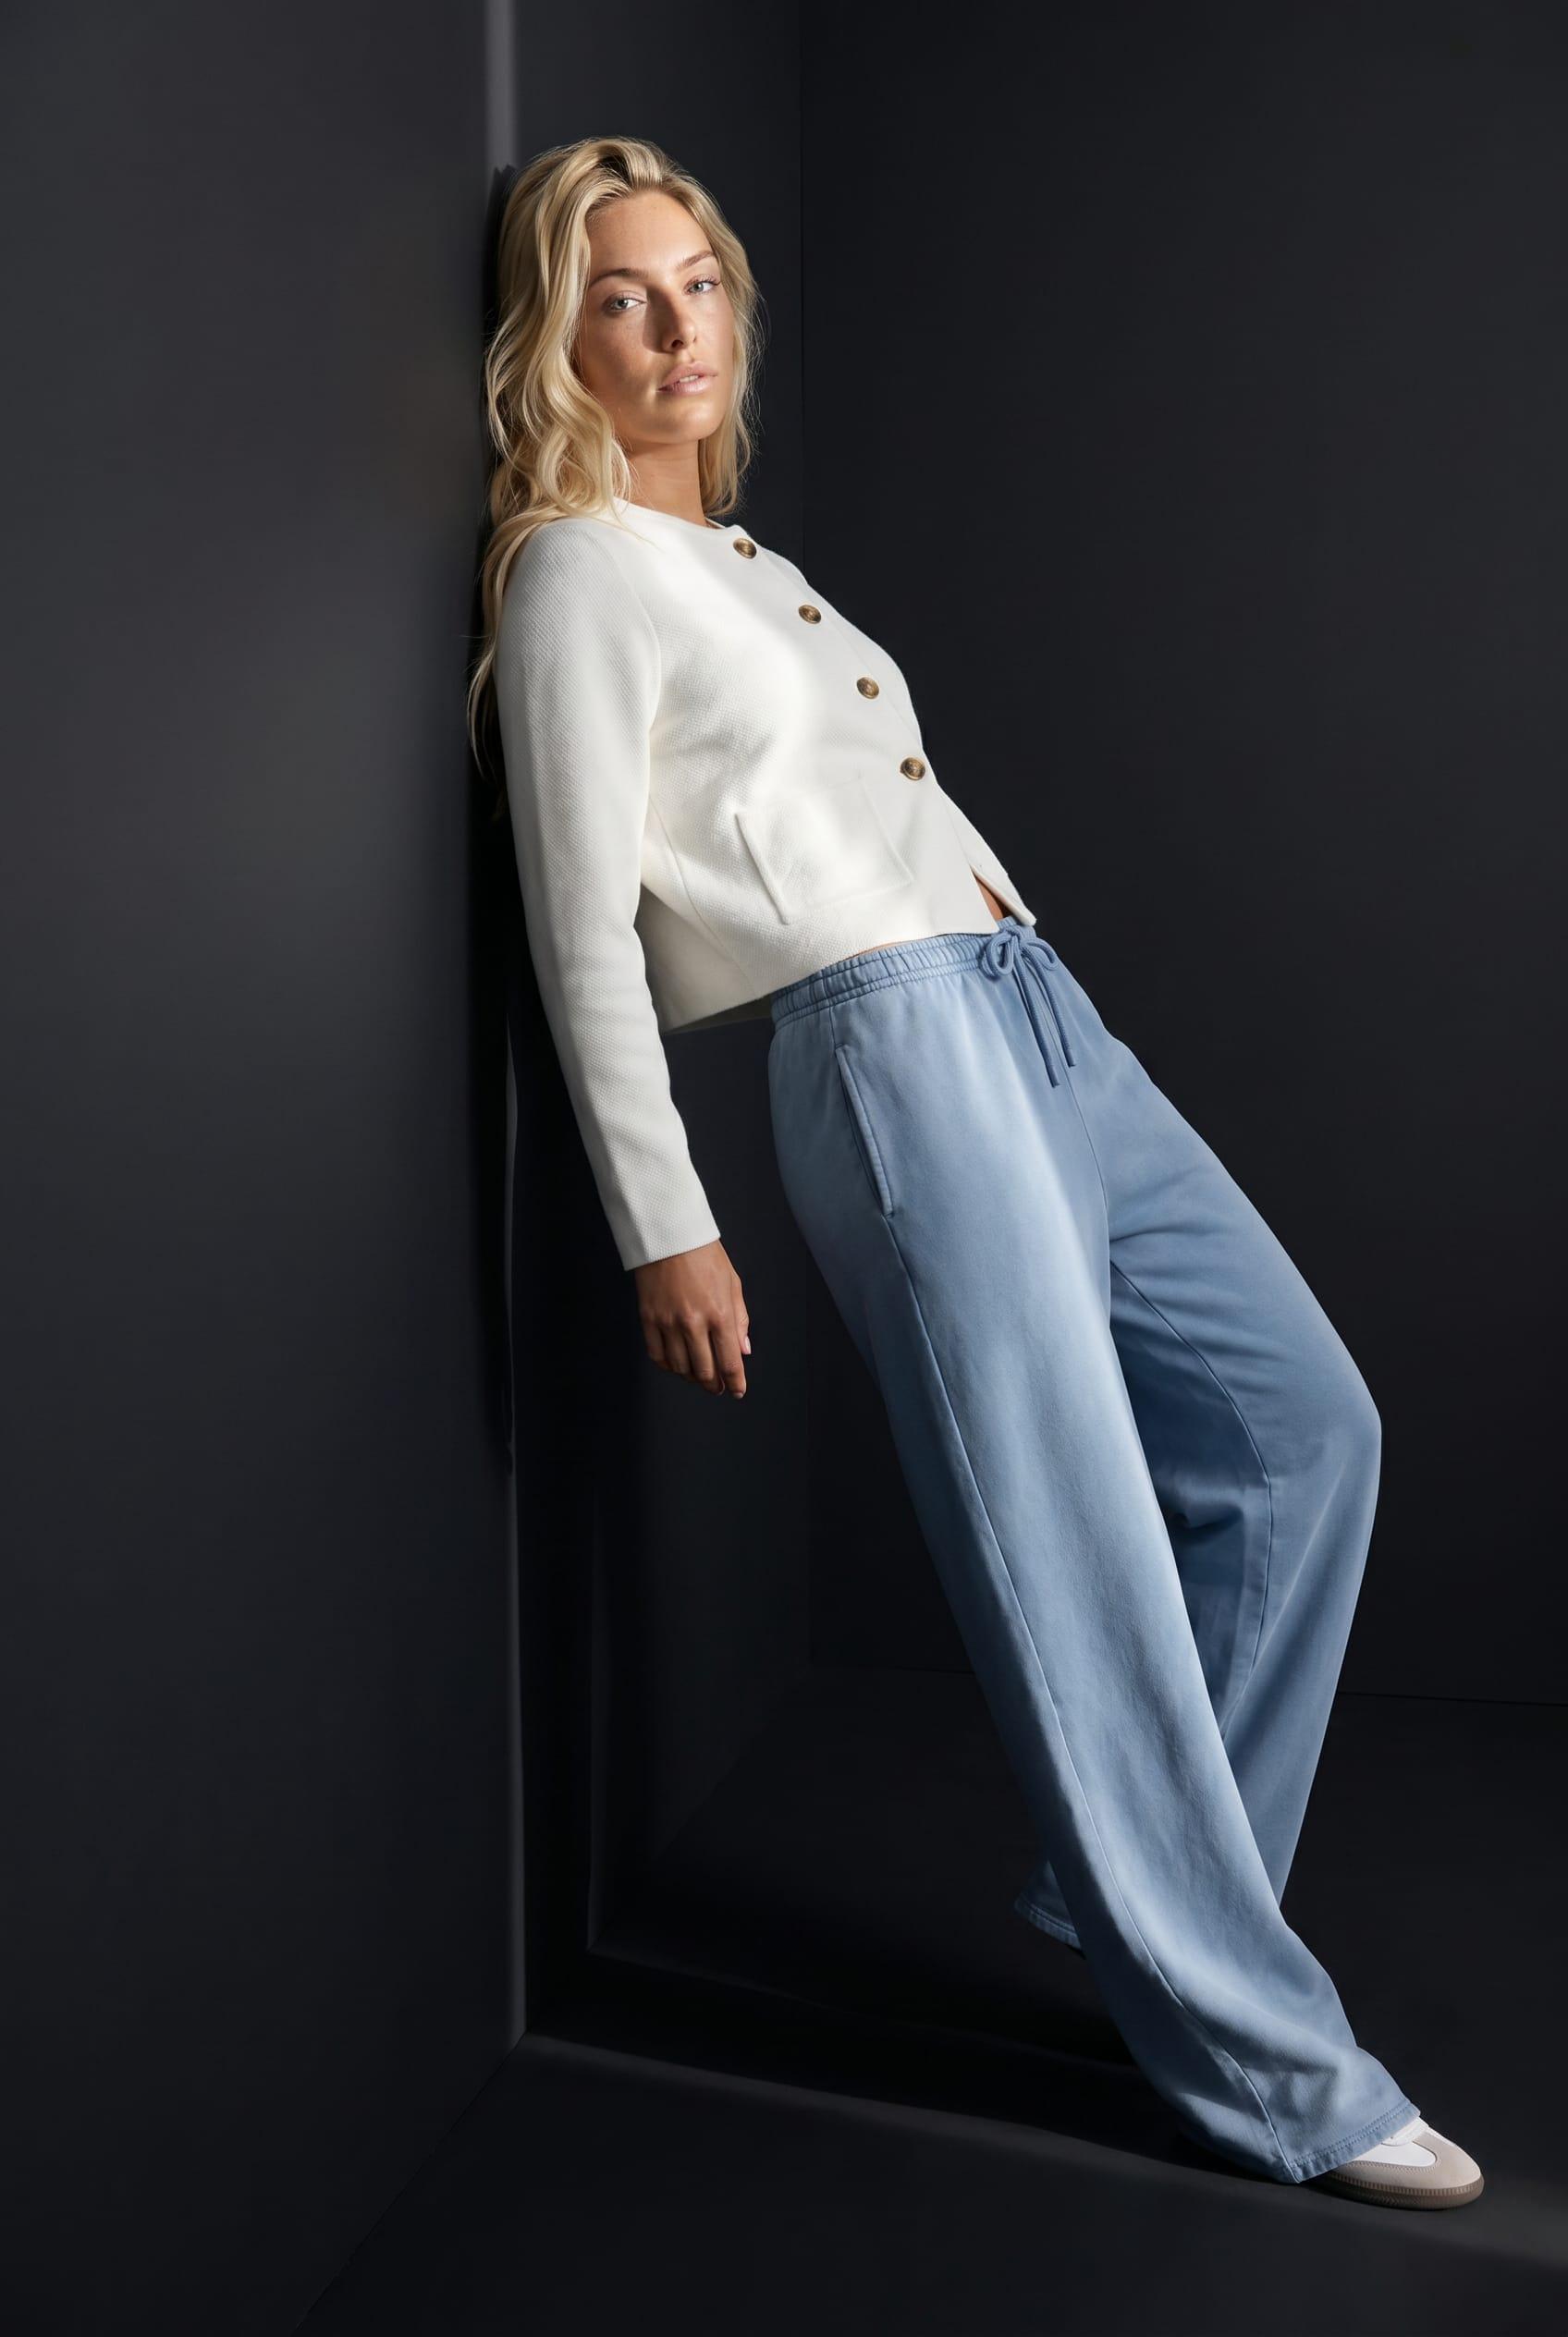
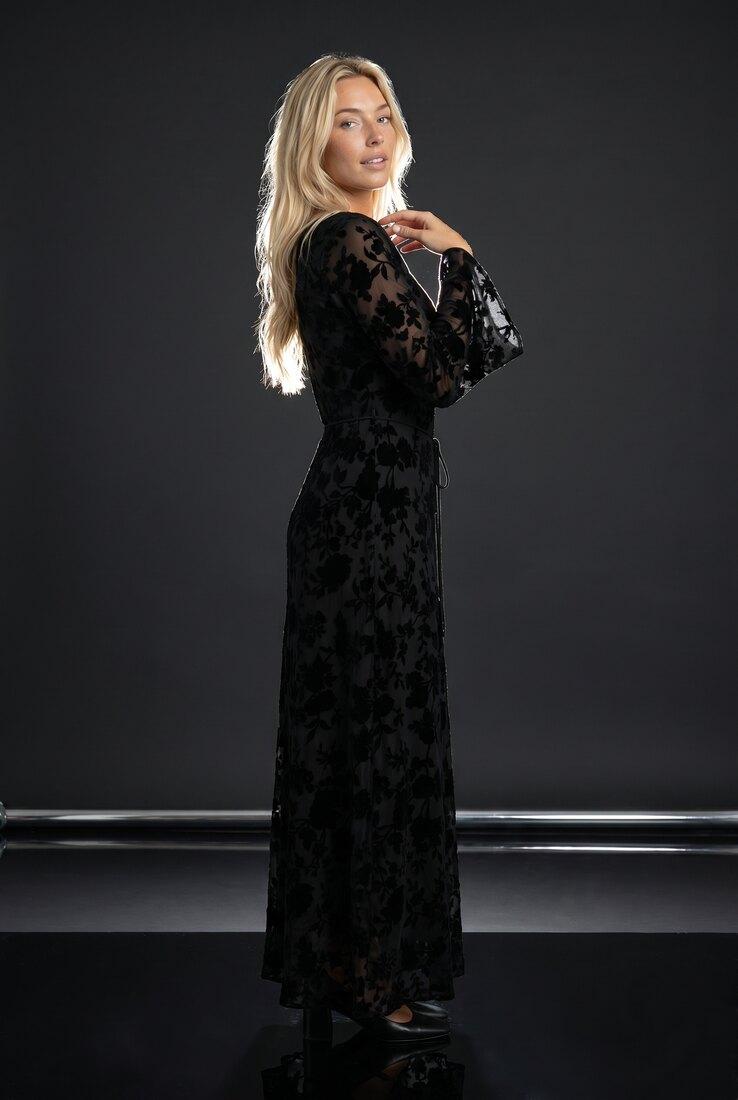
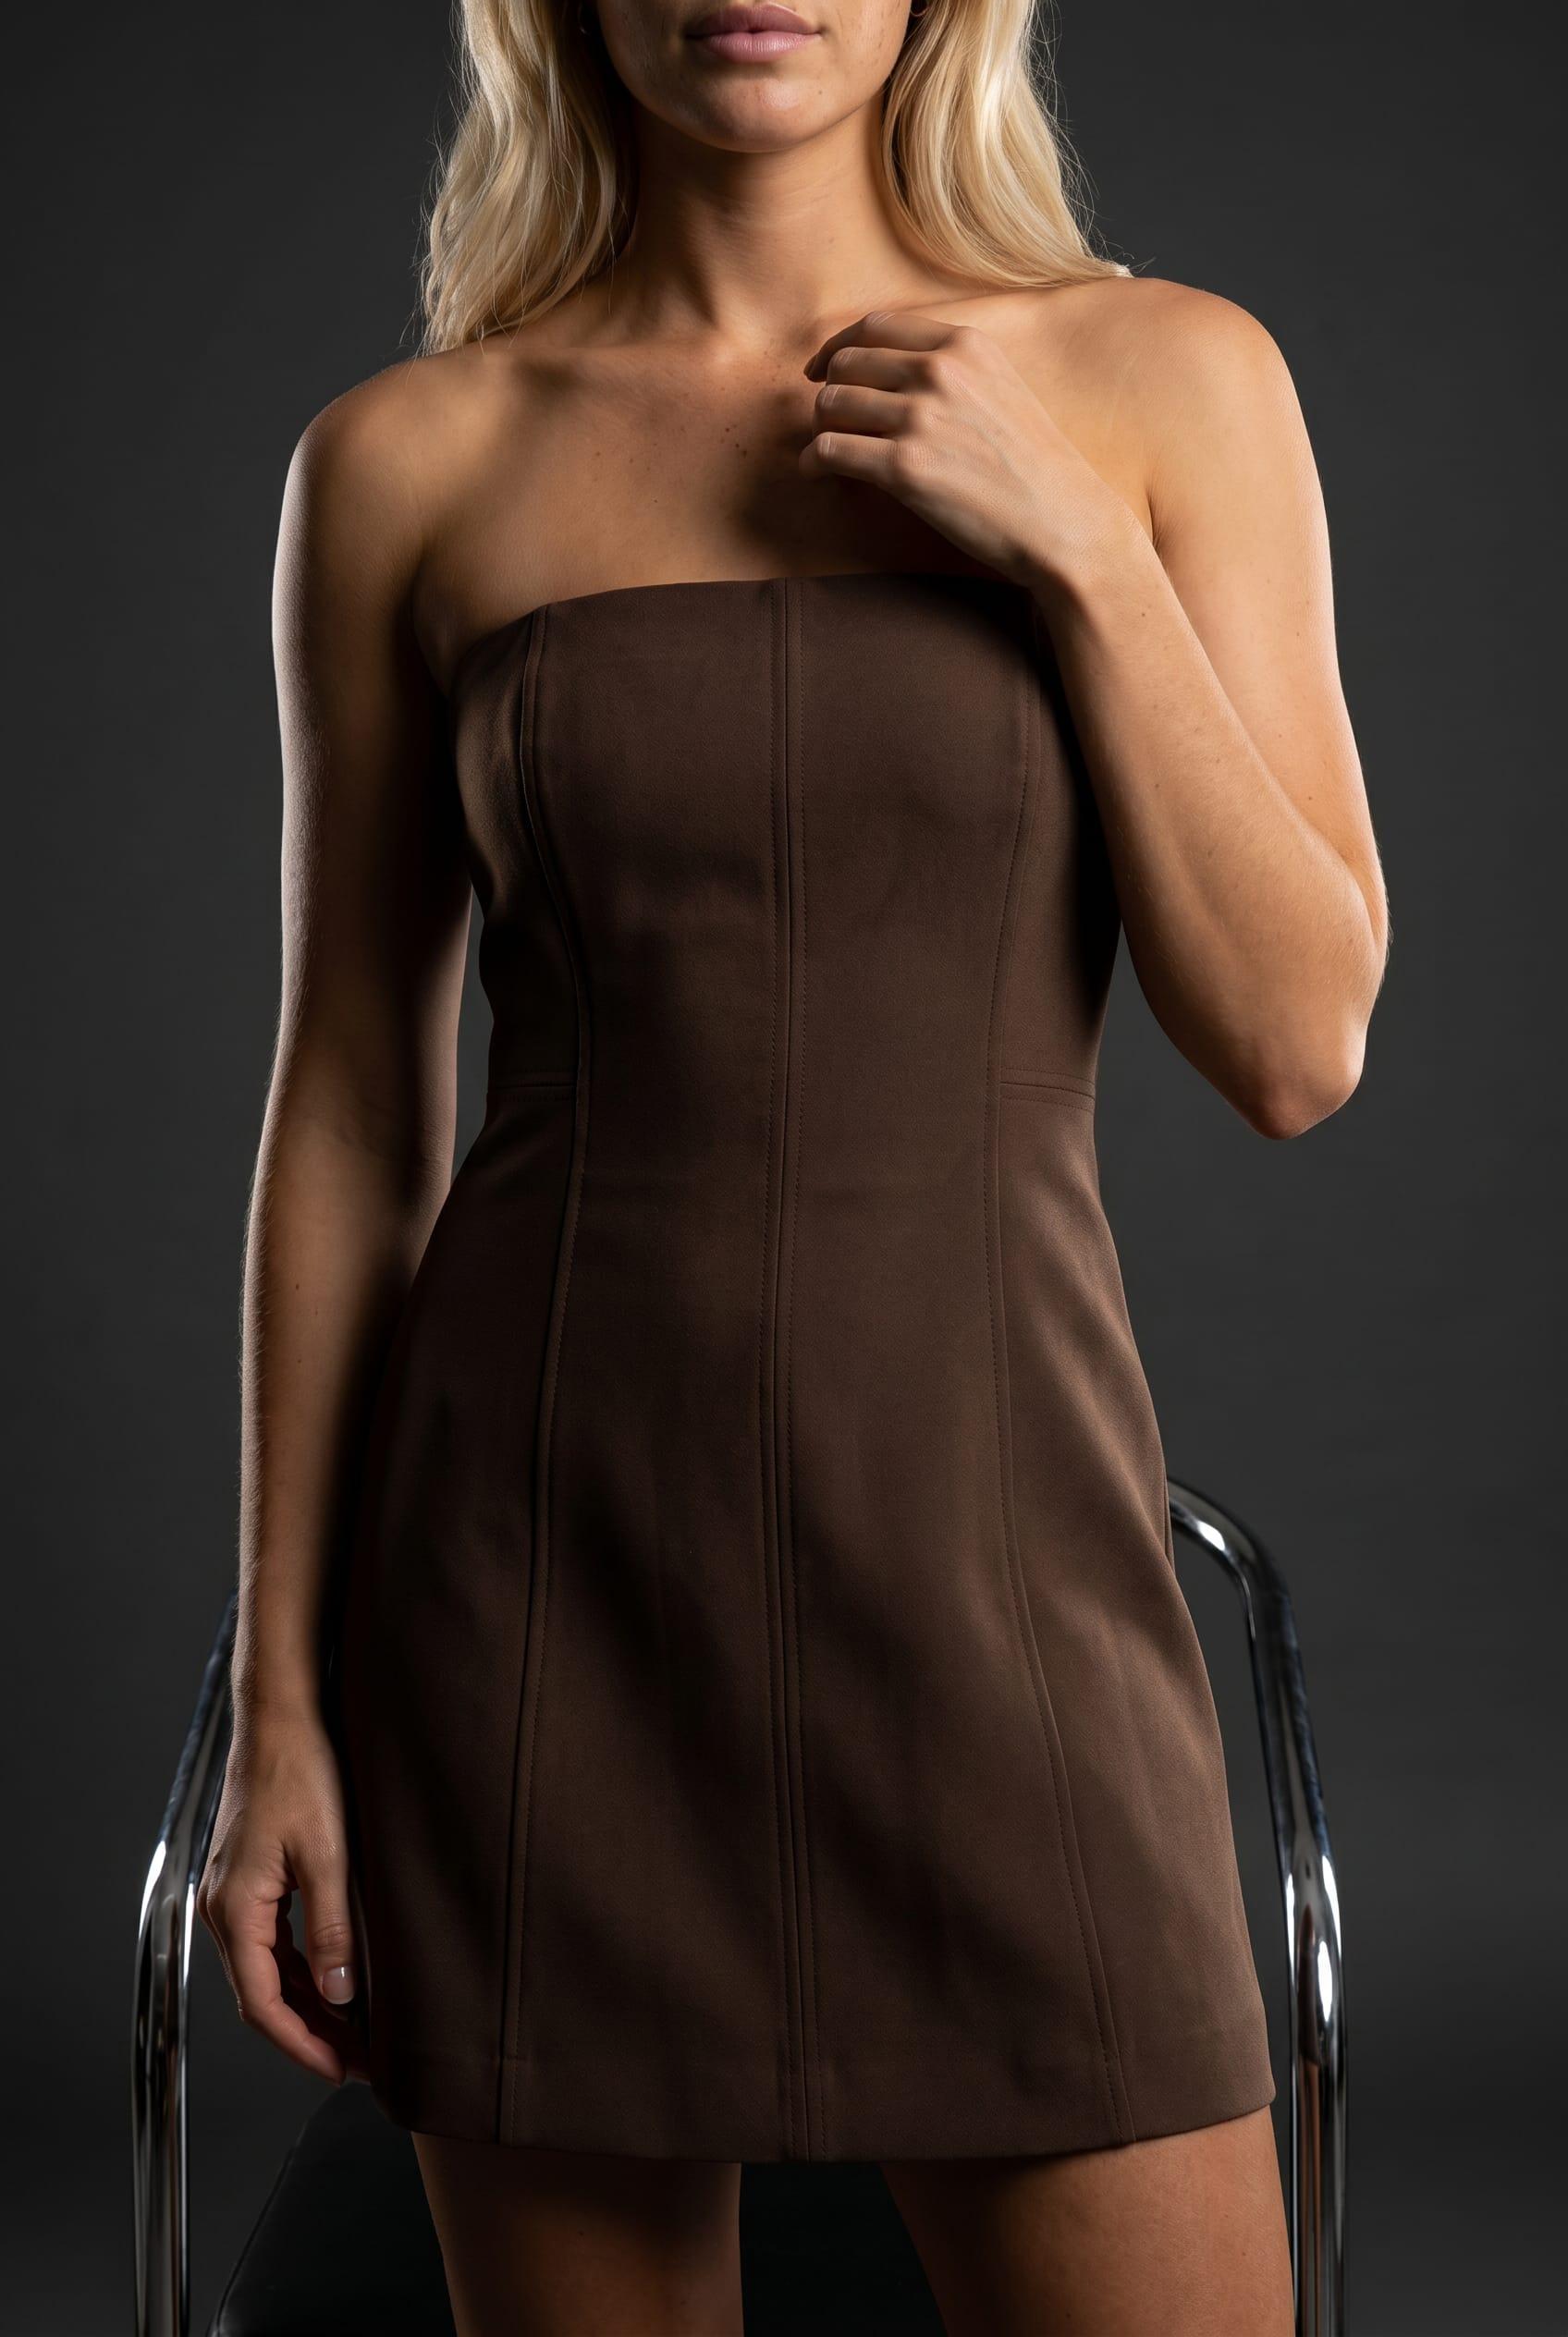
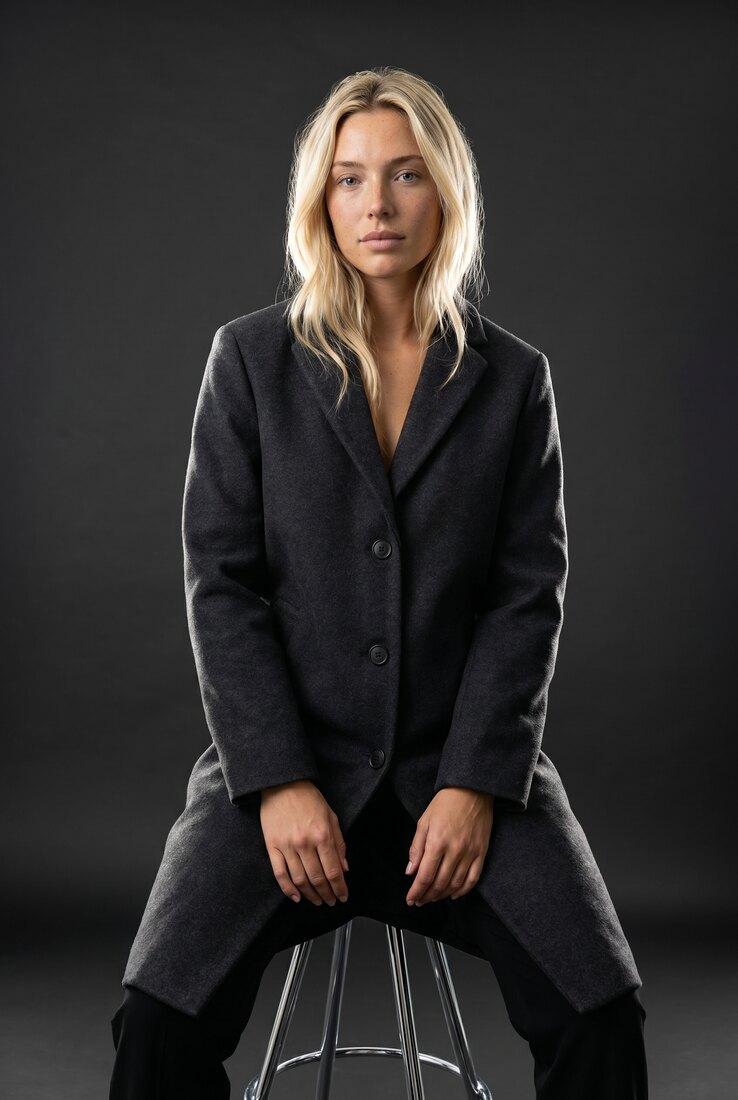
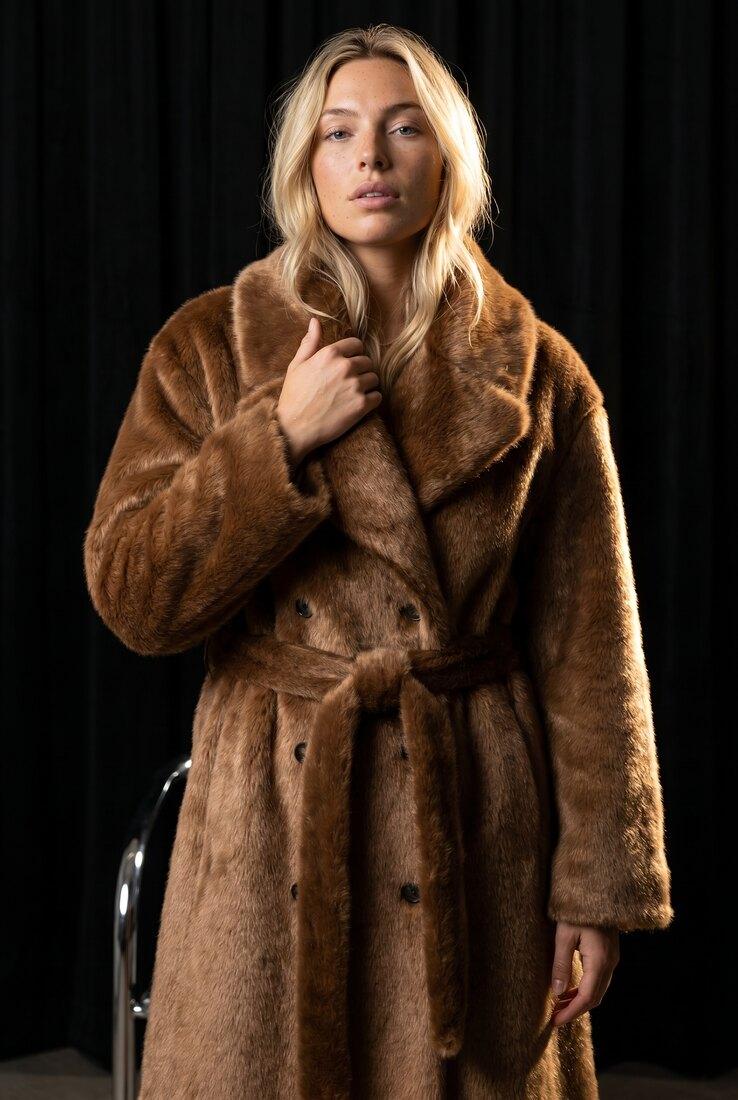
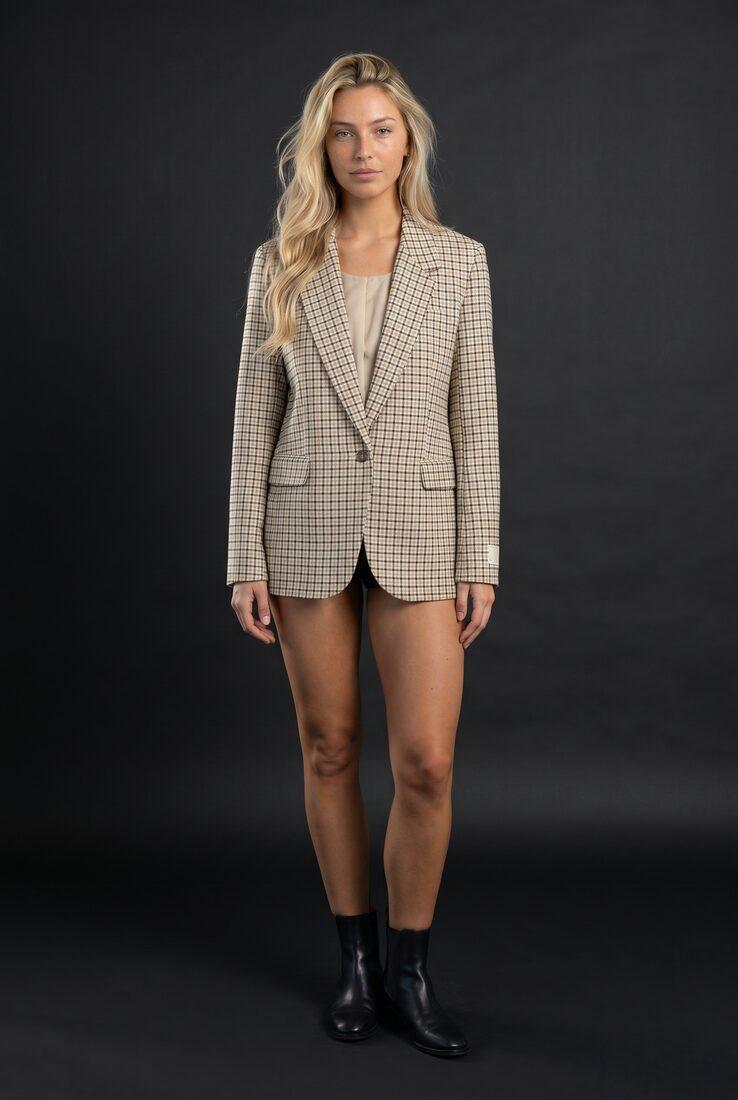
When you upload clothing
The photos start the moment the upload finishes processing.
In the builder: When clothing is ready
Product · Production Automation
New clothing arrives, the shoot runs, the good takes leave tagged. Publish it once, switch it on, and stop pressing generate.
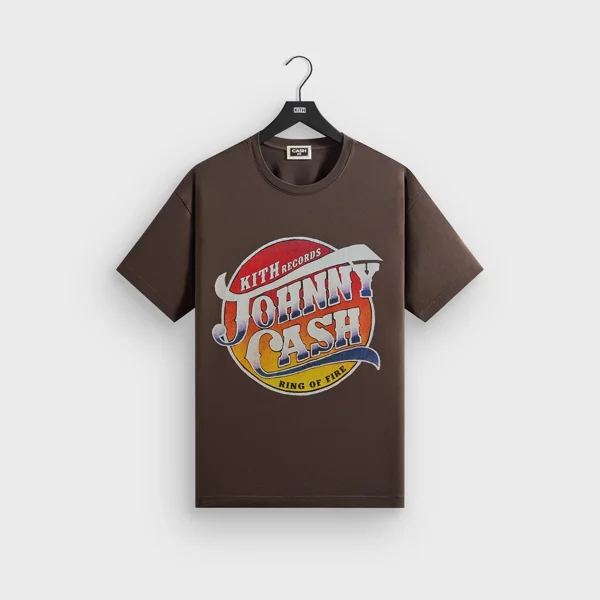 Graphic tee
Real cards, real photos: every image is the actual output of that step in a live automation in our workspace.
Why automate
Same art direction, same model, same crops, only the garment changes. That brief is an automation waiting to be published.
In Studio, every new product
Graphic teeTropical Pop · Gemini Flash 2 Lite · 1 photo + side cropGenerate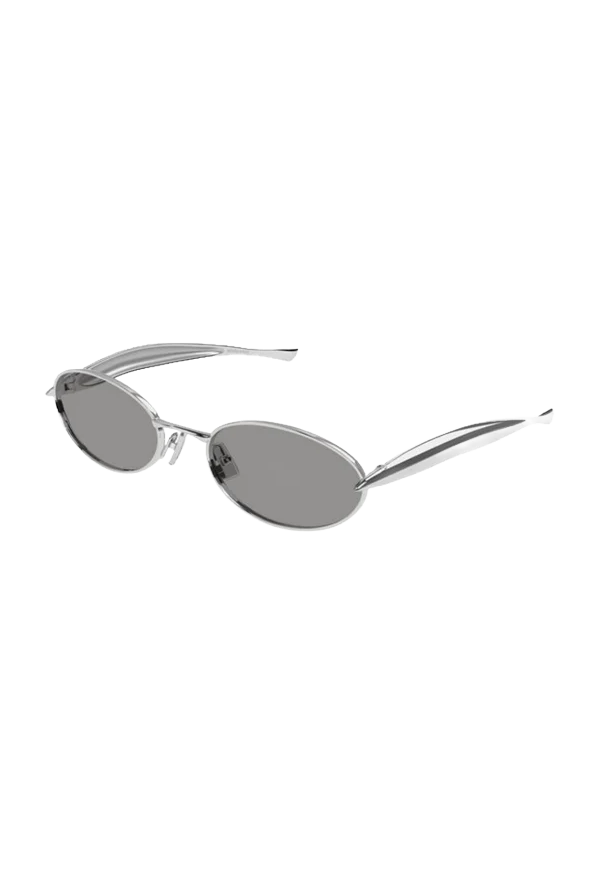 Oval sunglassesTropical Pop · Gemini Flash 2 Lite · 1 photo + side cropGenerateGraphic tee, colour 2Tropical Pop · Gemini Flash 2 Lite · 1 photo + side cropGenerateOval sunglasses, goldTropical Pop · Gemini Flash 2 Lite · 1 photo + side cropGenerate
and again, and again
As an automation, published once
Every upload after that runs the same steps on its own. You stop repeating yourself; the line keeps moving.
One tag, one automation
Add the tag your automation watches and it runs on its own. This is the graphic tee, tagged in our workspace: the shoot landed at 13:39:39 and the camera edit at 13:39:50.
Graphic teeClothing1 automation will run · up to 4 credits
2 photos4 credits spent0 prompts writtenNobody pressed generate.
Triggers
Three things you already do in your workspace. You can also press go by hand to test a draft, or start runs from your own systems through the API.
The photos start the moment the upload finishes processing.
In the builder: When clothing is ready
Tag a product for the campaign and the campaign shoot runs. Watch only the tags you choose.
In the builder: When a tag is added
Put a look together and the look gets its photos.
In the builder: When an outfit is made
Three automations to build first
Each one is a handful of cards from the library, wired and published in the canvas.
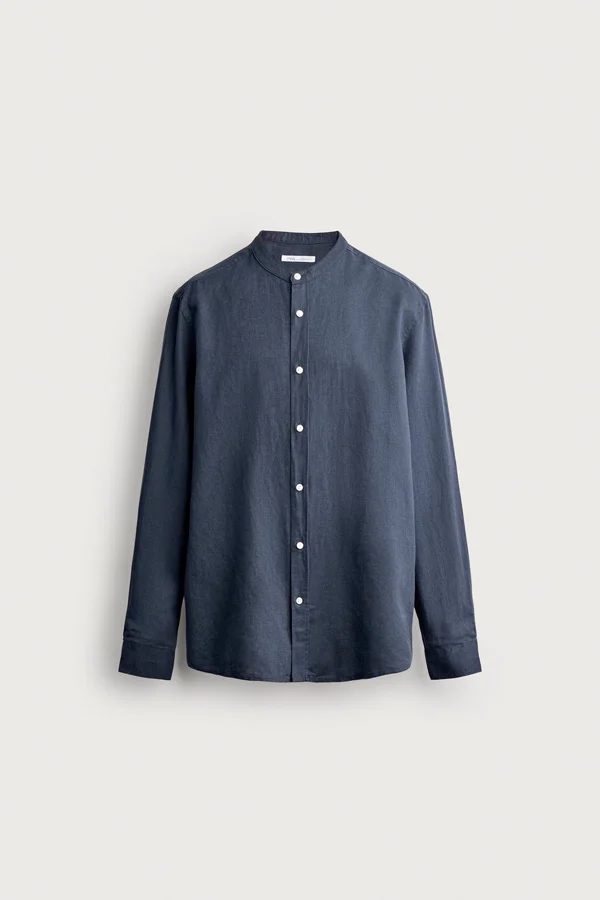
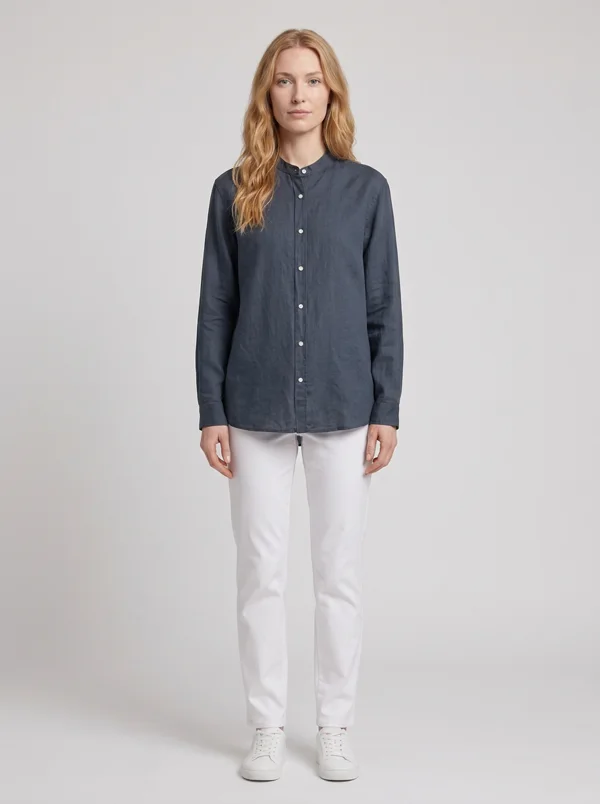
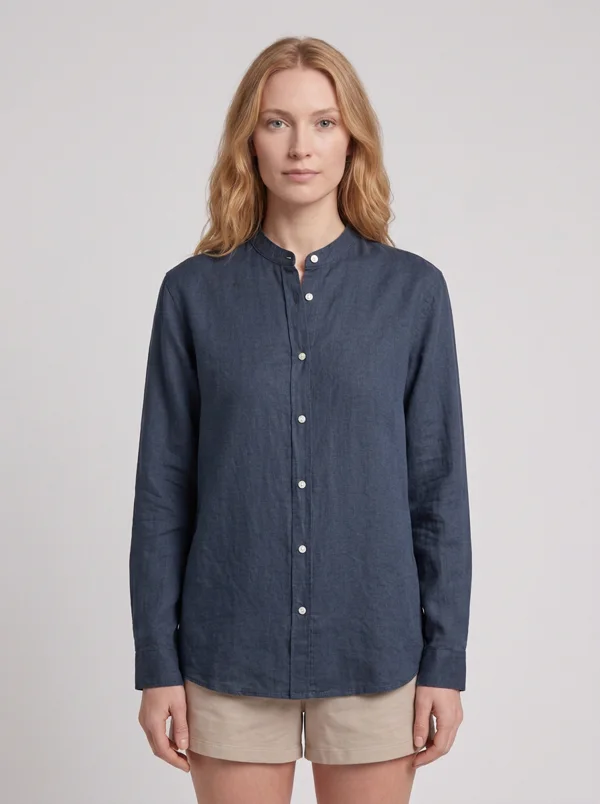
Every new garment gets its listing photos without a brief.

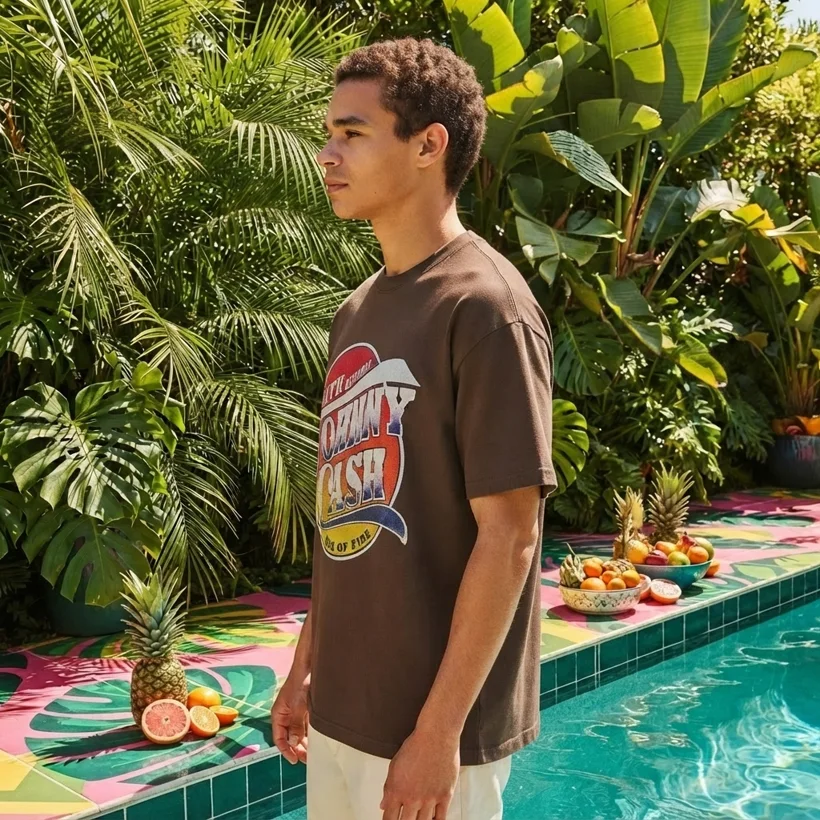
Tag the products in the campaign; the campaign look shoots itself.
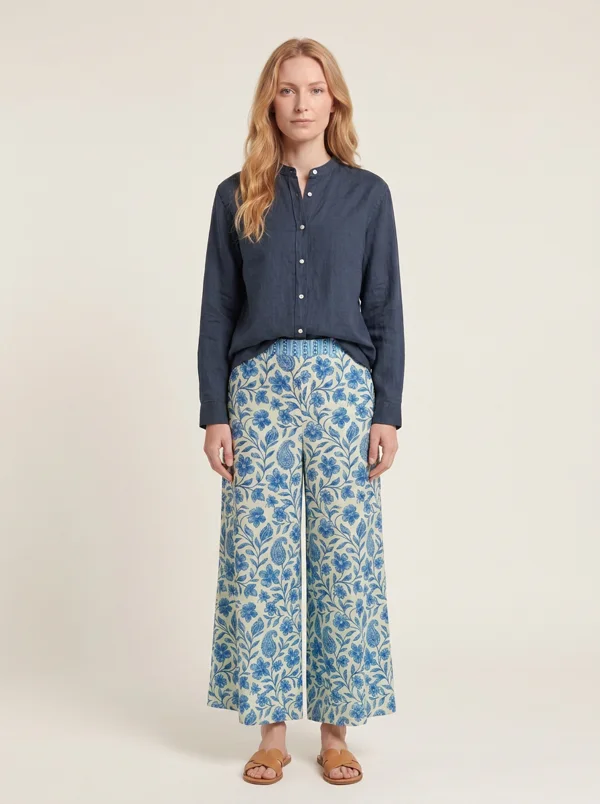
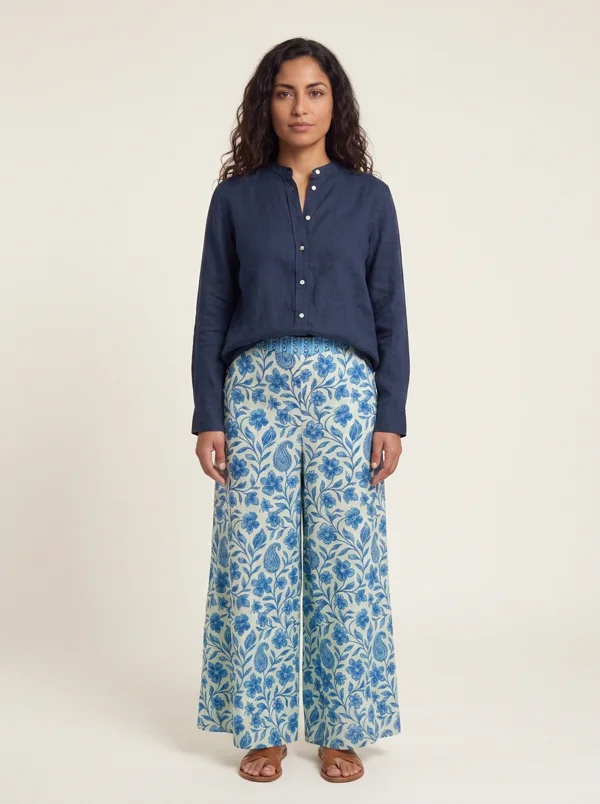
Merchandise a look and it gets shot on two models.
The node library
Start with a trigger, feed it assets, shoot, edit, check, export. Every card below is a real node in the builder; wire any of them into any run.
Built for production
In the cloud, on Uwear. Nothing on your machine, nothing to keep open.
Publishing fixes a version for good. Edits start a new draft; the live one keeps running.
Credits per run, and the worst case with re-shoots, before you publish. Runs reserve before they spend.
Pause one automation, or stop the whole company. Stopping records a reason.
From your systems
Every automation endpoint accepts your API key. One run per call with an idempotency key, or up to 50 items in a batch.
curl -X POST https://api.uwear.ai/workflows/{id}/runs \
  -H "Authorization: Bearer $UWEAR_API_KEY" \
  -H "Content-Type: application/json" \
  -H "Idempotency-Key: fw27-sku-1842" \
  -d '{"object_type": "clothing_item", "object_id": "1842"}'
# 202 accepted; poll GET /workflow-runs/{run_id} for per-step results
What teams ask before they let production run on its own.
A node canvas in Uwear where you wire a trigger to production steps: shoots, edits, video, an automatic quality check, and delivery. Publish a version, switch the automation on, and it runs on its own each time the trigger fires, spending credits only within the limits the published version fixes.
When you catch yourself submitting the same brief for every new product: the same art direction, model, crops, and checks, with only the garment changing. Wire those steps once in the canvas, publish, and switch it on; from then on each upload, tag, or new outfit runs them without a brief.
Three things you already do: upload clothing, add a tag to a product, or create an outfit. You can also start runs by hand from the builder, or from your own systems through the API with an idempotency key.
Credits, at the same rates as running the steps yourself. The builder totals the estimate before you publish: one run, and the worst case if every take is rejected and re-shot the full allowance. Each run reserves its estimate at start; if credits are short the run is rejected instead of half-running, and steps that fail on our side refund what they reserved.
When you add a Check quality step, the automatic reviewer scores every take, keeps the good ones, and re-shoots rejects up to the allowance you set; each re-shoot is billed like the original take. The check is a step you place where you want it, never a review we force.
Each automation has its own on and off switch, and a company-wide master switch stops every automation at once. Stopping requires a reason, which is recorded in the audit trail. Runs already in flight finish under their own retry rules rather than being cut off mid-step.
Automate the line
Existing customer? Log in to Studio
Pairs with Batch Workflows · Review & QA · Art Direction · Asset Library · MCP app