What is the quality difference between AI fashion models and traditional model photography for product listings?
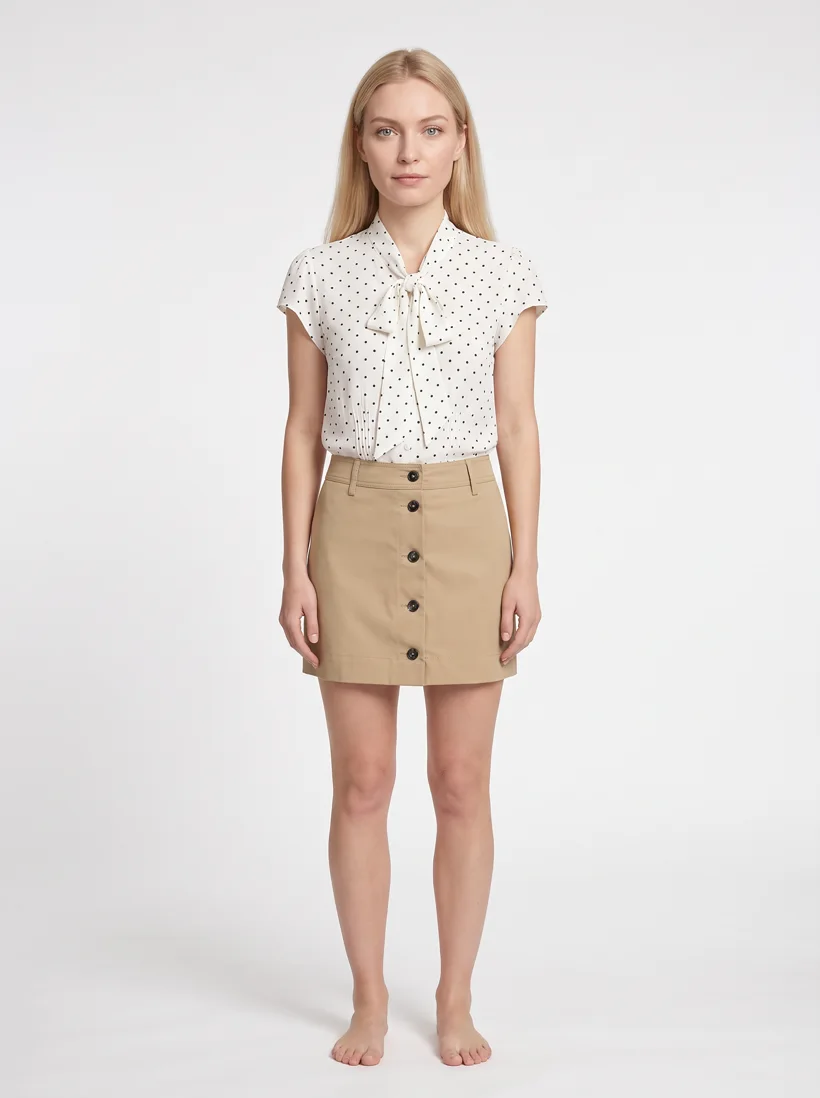
For product listings, the quality difference between AI fashion models and traditional model photography is no longer mainly in the image. Current image models render fabric, fit and studio light at listing resolution. The differences that decide quality are elsewhere. An AI photo depends on the product photo you supply: the garment's silhouette, colour and details carry from that photo, so a poor reference gives a poor listing. A studio photo depends on the shoot day: light, model and styling drift a little from one booking to the next.
AI photos are generated from the same saved model, art direction and location every time, and an automatic reviewer flags the take that drifts, so consistency is a property of the setup rather than of the shoot day. Studio photos still win when the image is the campaign, when fit on a real body has to be documented, or when fabric in motion is the point. Below, the same blouse and skirt were generated four times with only the AI model changed, so you can see where the differences sit, and then what separates a single-prompt tool from a production system.
What changes between a studio listing photo and an AI-generated one?
| What decides quality | Traditional model photography | AI fashion models on Uwear |
|---|---|---|
| Where the garment detail comes from | The sample on the model, steamed and pinned on the day. | The product photo you upload. Silhouette, colour, print and closures carry from it; a back view and a detail photo add what the front does not show. |
| The model | Whoever is booked. Casting changes between shoots. | A saved model, attached as a reference to every photo. Face, body and styling carry from it; the reviewer flags a take that drifts. |
| Consistency across the range | Depends on the crew keeping light, lens and retouching identical over months of bookings. | The art direction, the location and the crop are saved once and applied to every garment. |
| Turnaround | The next booking, then retouching. A garment that misses the shoot waits. | Minutes after the product photo is uploaded; the photos on this page took about 90 seconds each. |
| Quality control | A retoucher and an eye on set. | An automatic reviewer compares each result with the product photo, gives a written reason, and retries within your allowance. Toggleable. |
| Revisions | A reshoot. | An edit from the approved photo: a new crop, a back view, a different colourway. |
| Cost structure | Day rate plus per-image retouching, styling, model licensing, reshoots. | Credits per step at the published rate of the AI model; estimate shown before the run. |
Same garment, four AI models: where does the quality differ?
These are the two product photos. Everything below was generated from them on the same saved model with the same one-sentence prompt. Three of the four also received the Pure White studio location as a reference and ran at 2K. Gemini Flash accepts three references and runs at 1K, so it got the model and the two garments only; read its result with that in mind.
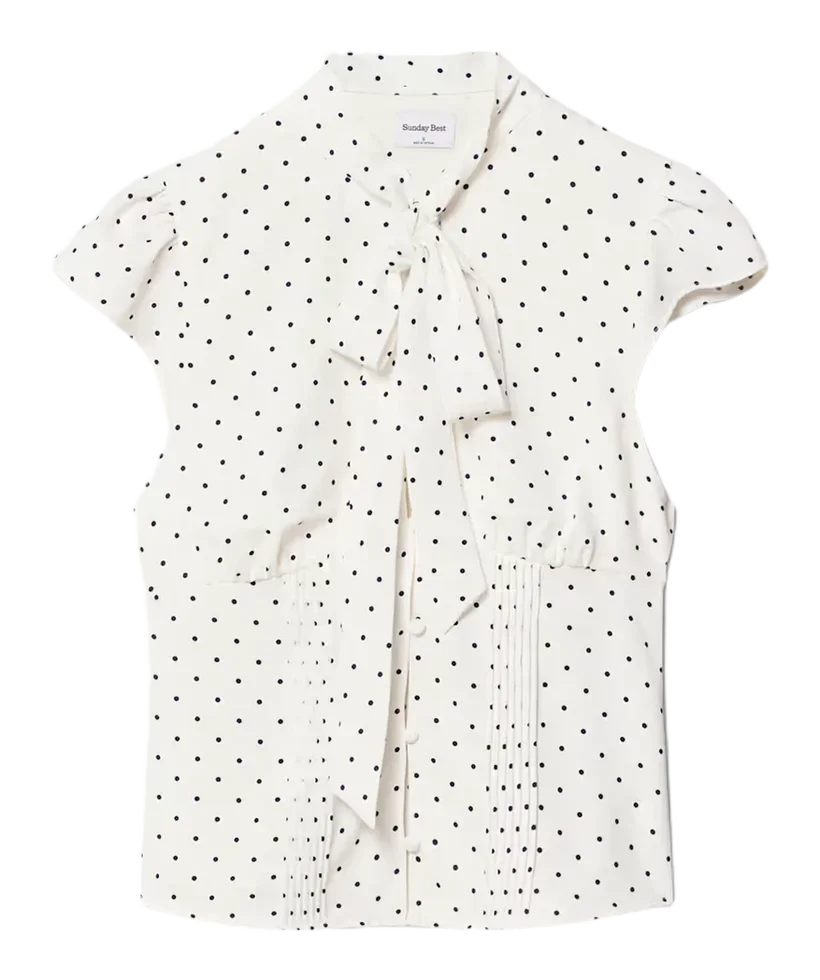
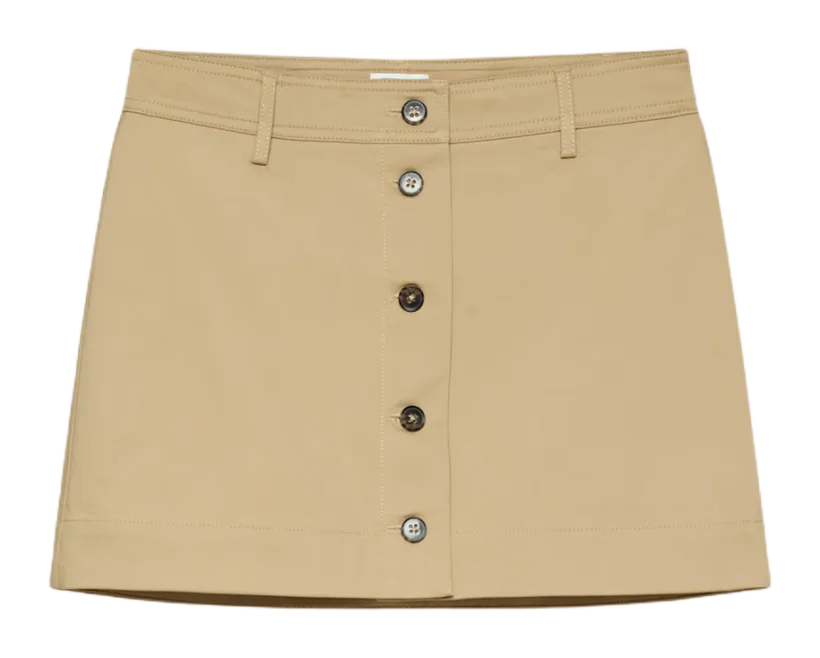
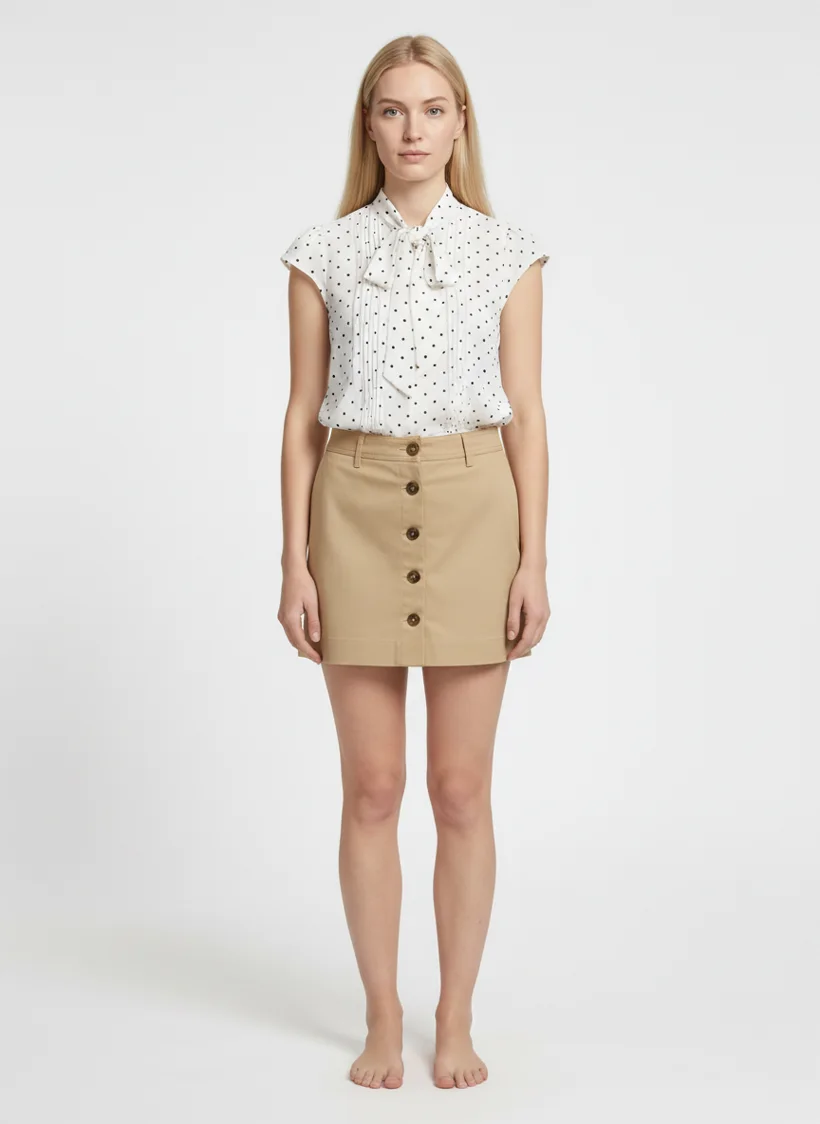
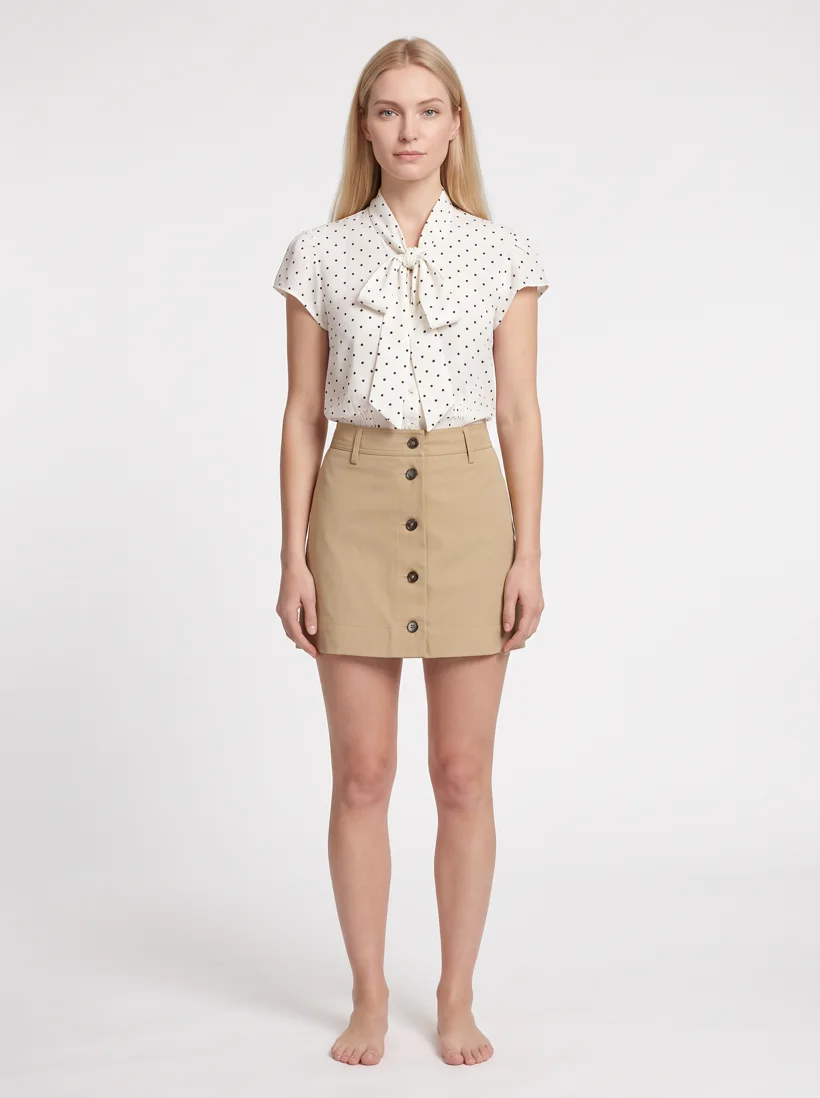
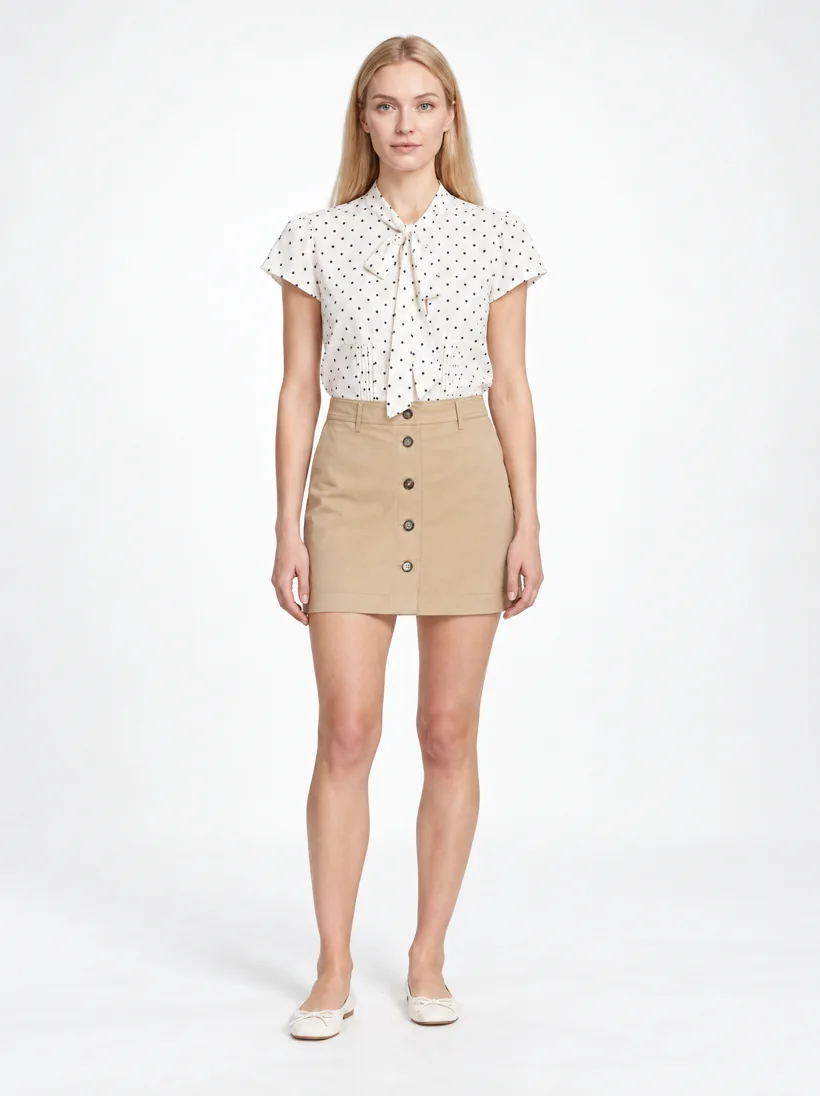
Two things in this set are worth reading closely. First, the differences between the three current-generation models are in fabric rendering and in how faithfully the face matches the saved model, not in whether the garment is recognisable: all four kept the dots, the bow and the five buttons. Second, the prompt did not name footwear, and three of the four models left the model barefoot. That is not a quality gap between AI and a studio; it is a brief gap, and naming the shoes fixes it. A stylist on set would have asked.
| AI model | Credits charged | Resolution | Reference images accepted |
|---|---|---|---|
| Gemini Flash | 1 | 1K | 3, so the studio location reference had to be dropped |
| Gemini Flash 2 | 5 | 2K | 14 |
| Gemini Pro | 5 | 2K | 14 |
| GPT Image 2.5 High | 6 | 2K | 16 |
Credits are the figures the run charged in our workspace on 14 September 2026; current rates for every model are on the models page. A wider comparison of GPT Image 2.5, Gemini Pro and Seedream on lettering, texture and stitching is in our model comparison post.
Why does the tool around the AI model matter more than the model?
The four models above are available to anyone. A single-prompt tool passes your photo and a sentence to one of them and returns whatever comes back. A production system passes more, and checks what comes back. That is where the quality difference between AI tools sits.
- -References, not descriptions. The garment front, back and detail photos, the saved model and the location are attached as images. The blouse's pintucks came from the reference photo, not from a prompt.
- -A saved model and a saved art direction. Reused across the whole range, so the range looks like one shoot.
- -Edits from an approved photo. The back view and the detail crop are camera edits of the approved front, so the set stays connected instead of being four separate generations.
- -An automatic reviewer with reasons. Each result is compared with the product photo; the verdict and the reason are written down, and rejected takes are retried within your allowance. The pair below is a real rejection and its retry from our own workspace, with the reasons the reviewer wrote.
- -A credit ledger you read before the run. The estimate, and the worst case with retries, is shown before you approve.
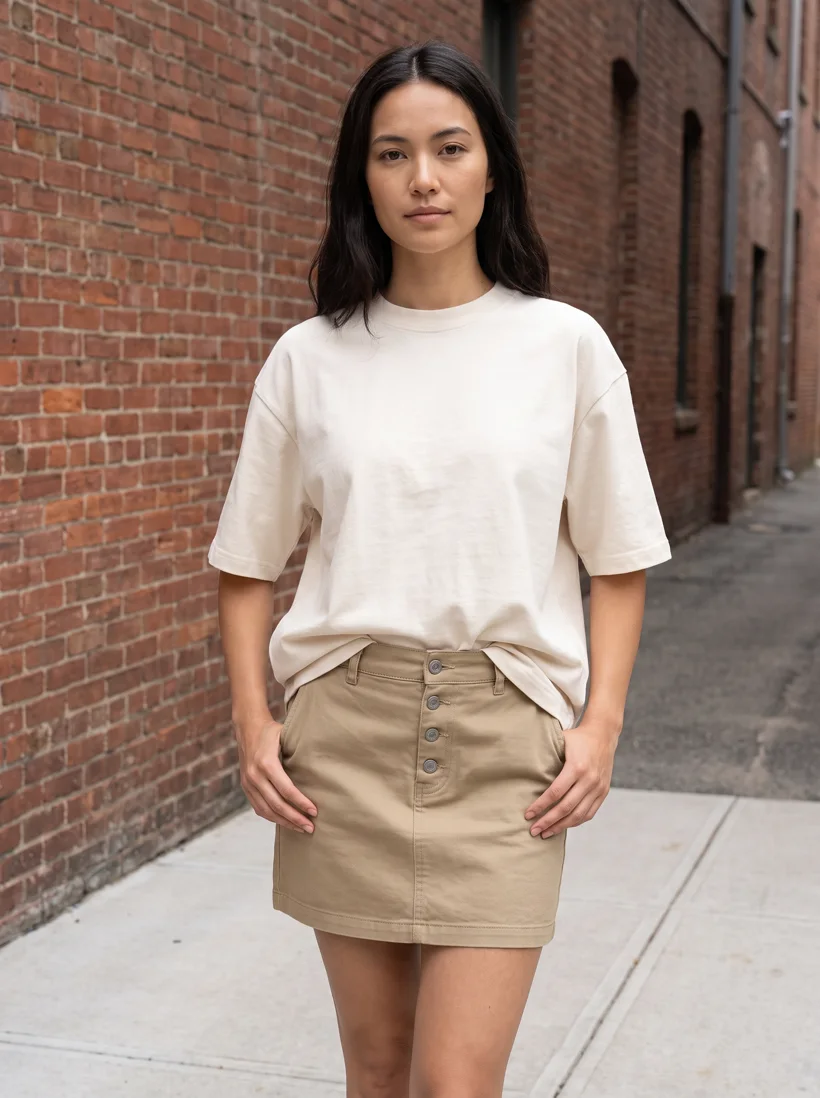
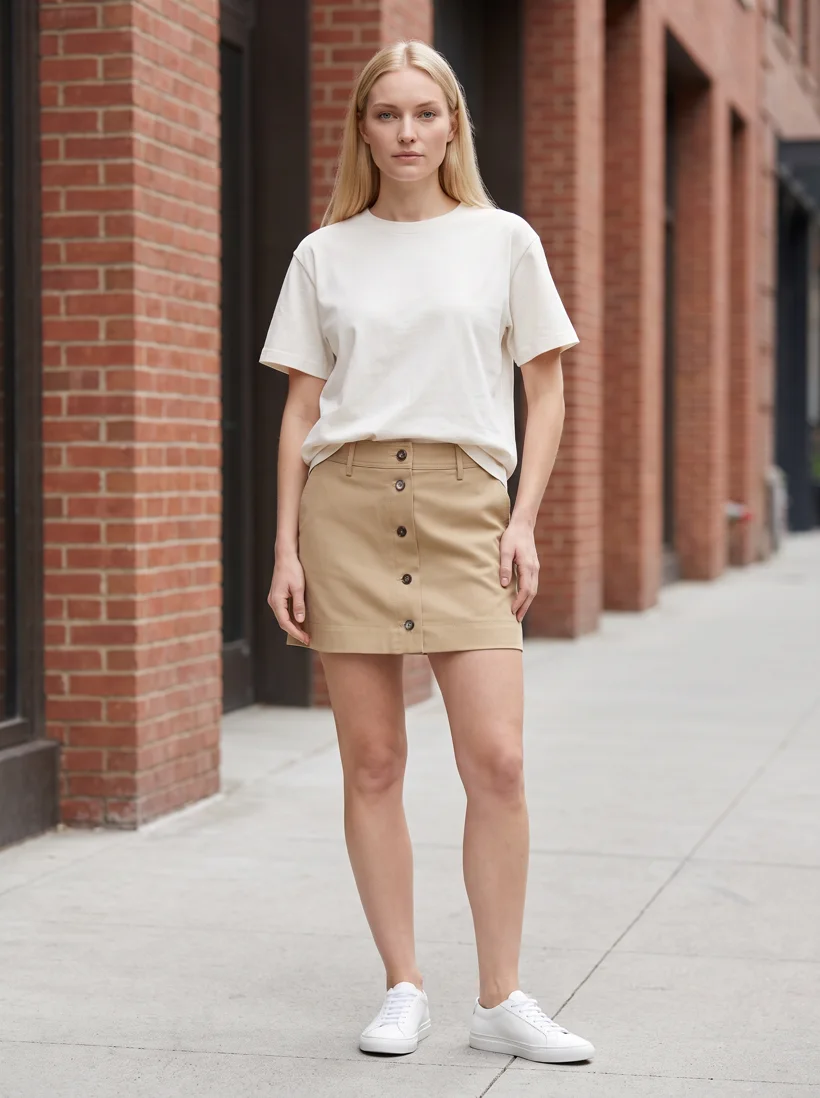
The full loop, and how it runs at batch scale, is on the QA and retries page.
When is traditional model photography still the better choice?
- -When the image is the campaign. A named photographer, a location, talent that is part of the story. Its day rate buys something a listing photo does not need.
- -When fit on a real body must be documented. Size guidance, tailoring, technical garments where the drape on a specific body is the product claim.
- -When fabric in motion is the point. Video models are closing this gap, but a studio still shows a heavy silk moving the way it actually moves.
- -When you have no usable product photo. The generated photo carries its detail from the reference. With no reference, there is nothing to carry.
How do you generate AI fashion model photos for listings?
The assistant-operated path comes first. Connect the Uwear MCP server to ChatGPT, Claude, Claude Code or Codex, ask for the shoot, and approve the costed brief. The system template Product page set makes a front photo, an upper-body edit, a back edit and a five-second turn from one garment photo. For pure automation, the REST API submits the same command with a webhook. For hands-on work, Studio runs the same shoot from one panel.
Prompts for testing and running AI fashion model photos
Copy one into an assistant connected to the Uwear MCP server. The comparison on this page was made with the first one.
Test one garment on several AI models before choosing a default
“Shoot SKU 2210 on our saved model in the Pure White studio with Gemini Flash 2, Gemini Pro and GPT Image 2.5 High, same prompt, and lay the three results next to the product photo.”
Run the product-page set with the reviewer on
“Load the "Product page set" template for the garments tagged new-in, turn QA on with one retry, and show me the costed brief.”
Read the reviewer’s reasons before publishing
“List every rejected result from today with the reason, and re-shoot the ones rejected for garment detail with a back view attached.”
Frequently asked questions
Are AI fashion model photos good enough for product listings?
For the listing photos that have to exist for every garment, current image models render fabric, fit and studio light at listing resolution, as the four generations on this page show. What decides whether a given photo is publishable is the product photo it was generated from and the check that runs afterwards: on Uwear an automatic reviewer compares each result with the uploaded product photo, flags anything that drifts, and retries within the allowance you set. The reviewer is toggleable; when it is on, every result carries a verdict you can read before you publish.
Do AI fashion models look the same in every photo?
They match far more closely when the model is saved and reused rather than described in a prompt each time. On Uwear a saved model is attached as an image reference, so face, body and styling carry from it into every generation. Drift can still happen on a single take, which is why the reviewer checks model identity as well as the garment and sends the take back for a retry when it does not match.
How do I check an AI product photo against the real garment?
Compare it with the product photo you uploaded, not with your memory of the garment: neckline, closures, print scale, colour, hem length and sleeve length. On Uwear the automatic reviewer does that comparison for every result and writes down what it found. For a garment with fine detail, upload a back view and a detail photo as well, because the generated photo carries its detail from those references.
How much does an AI fashion model photo cost compared with a studio shoot?
A studio quotes by the day or per finished image, before styling, model licensing, retouching and reshoots. Uwear is priced in credits per step, at the published rate of the AI model you pick: the four listing photos on this page cost 1, 5, 5 and 6 credits. The estimate is shown before a run starts, including the worst case with reviewer retries, so the cost of a season is known before it is approved.
Test your own garment on the same three current models
Upload one product photo, pick a saved model, and run it on Gemini Flash 2, Gemini Pro and GPT Image 2.5 High side by side before you choose a default for the range.