How to Create AI Product Photos for Ecommerce Listings
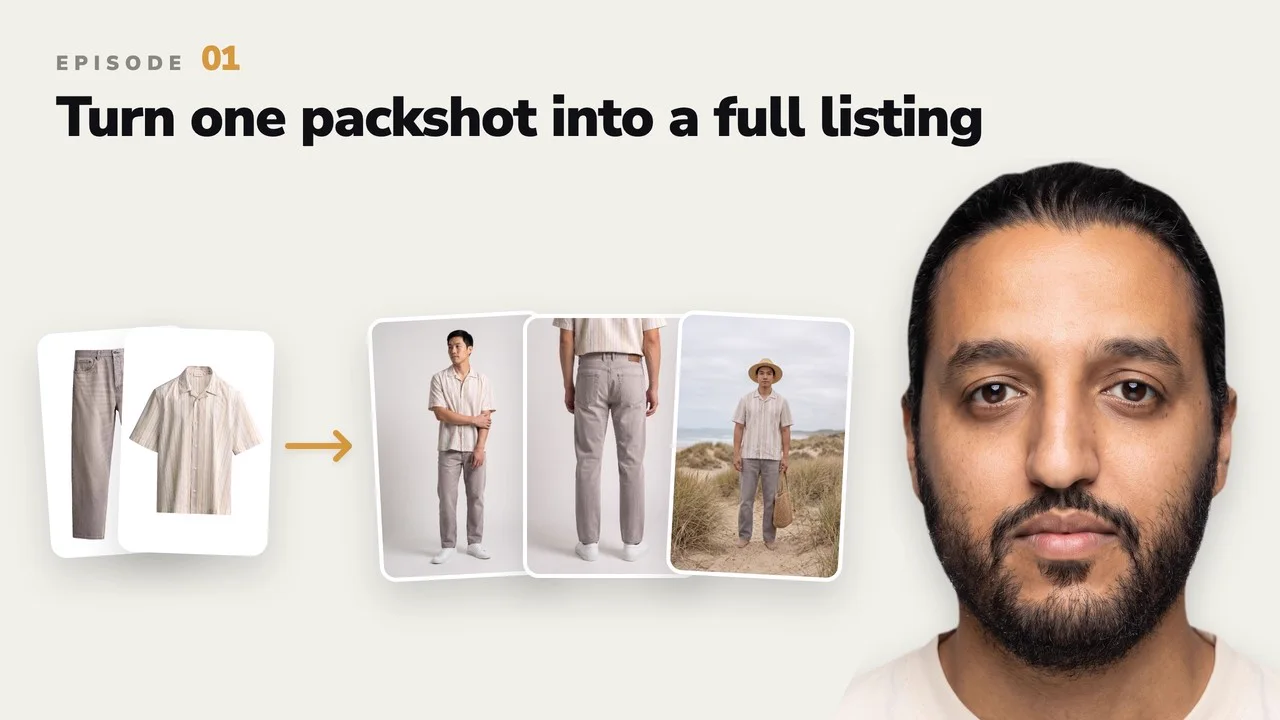
One clean garment packshot can become the starting point for a complete ecommerce listing. In this first Uwear tutorial, we upload the garment, create an on-model product image, add useful camera angles, and turn an approved still into a product video.
The full process takes seven minutes to watch. Use the video for the exact screen flow and the written guide below as a production checklist for your own catalog.
Watch the complete Uwear workflow
Episode 1 follows one product from source packshot to listing-ready photos and video inside Uwear Studio.
What this AI product photography workflow produces
01
On-model hero image
Create the main product image from your garment reference.
02
Alternate listing views
Add full-body, close-up, and product-detail camera angles.
03
Product video
Animate an approved still for product pages, ads, and social content.
1. Upload clear garment packshots
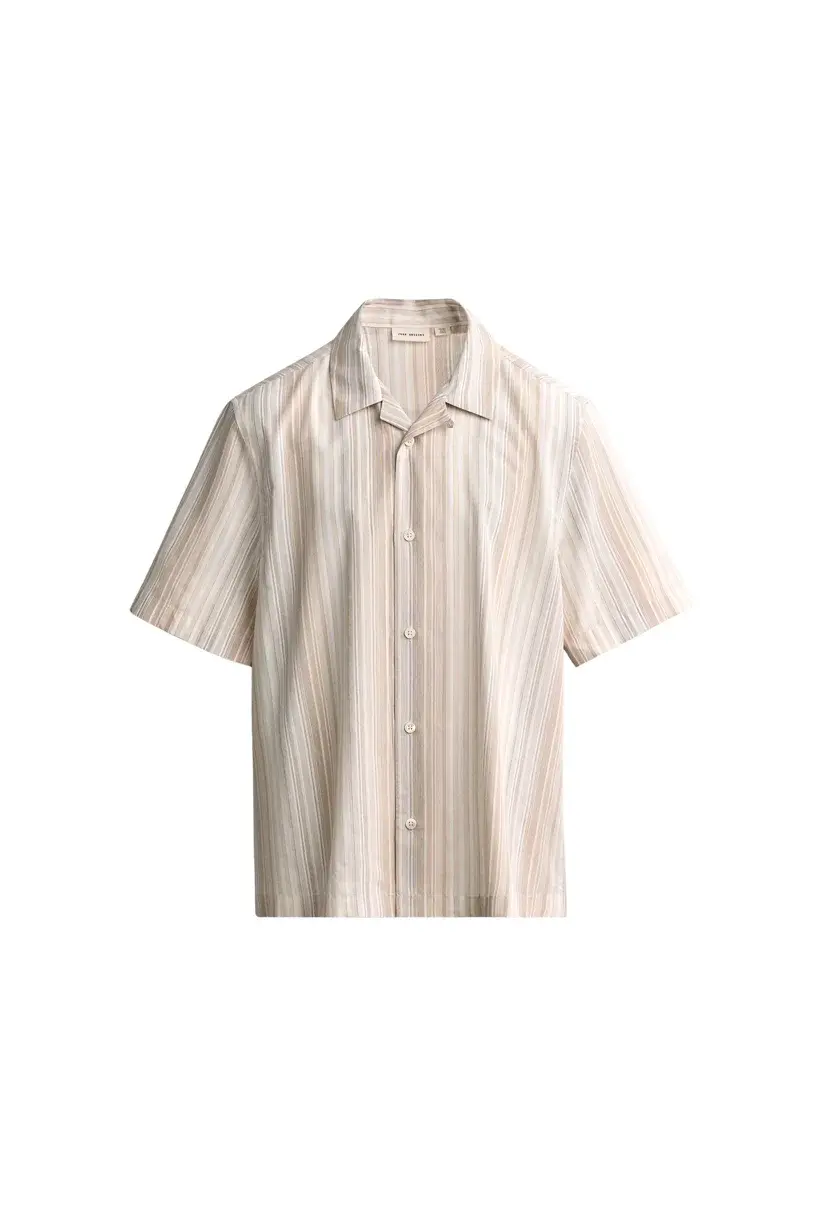
Start with the cleanest product reference available. A front view is enough to begin. Add a back view or detail image when the garment has graphics, closures, straps, seams, or construction that the front image does not show.
Keep the product large in the frame and avoid heavy compression. Our fashion reference image benchmark found that 2048 pixels is a safe target for detail-heavy garments.
2. Generate the first on-model product image
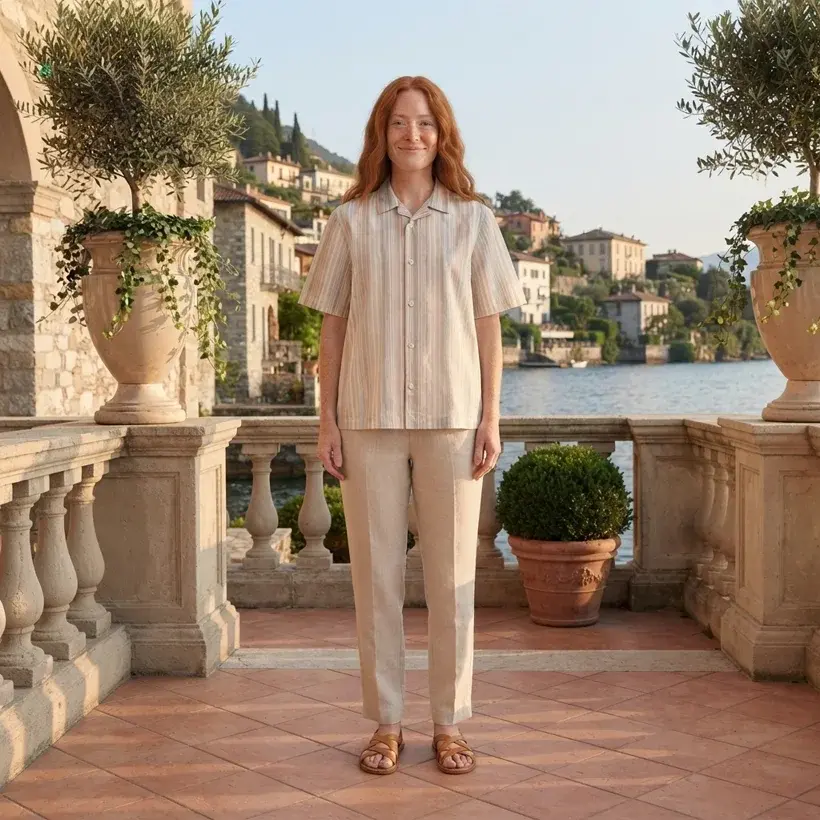
Select the garment, choose a model, set the shooting direction, and generate the first image. Treat this result as the visual anchor for the rest of the listing. Review product color, fit, fabric, construction, and visible details before you create more views.
For a repeatable catalog, reuse the same approved model and art direction across related products. Uwear keeps the garment, avatar, AI model, and camera direction together so the team can review how each result was made. You can also compare the AI image and video models available in Uwear.
3. Add alternate camera angles and product details
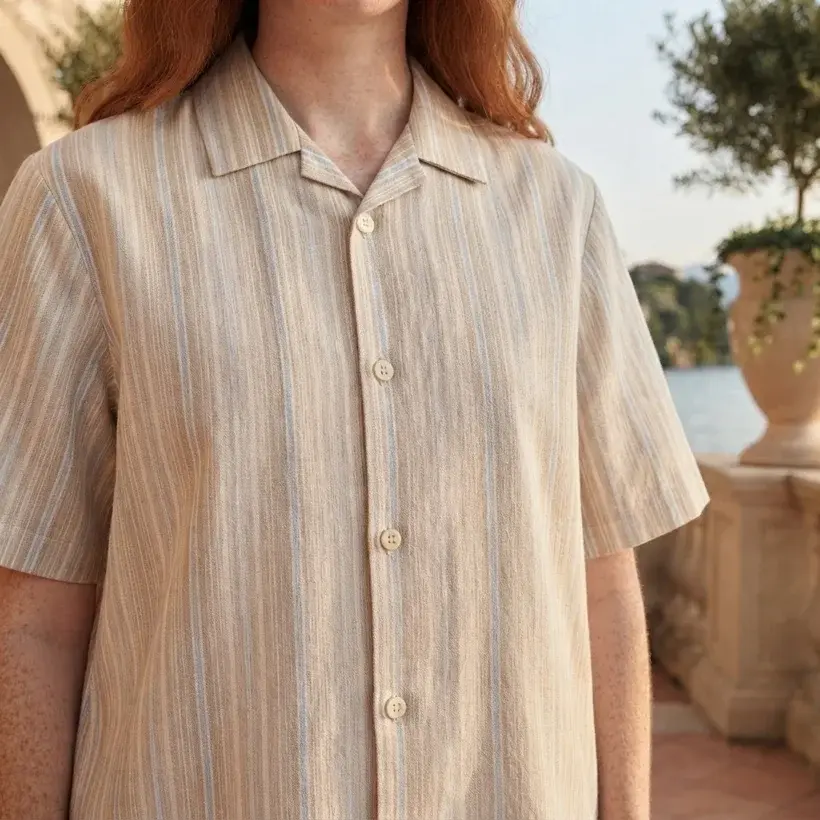
Once the main image is approved, use it as the source for additional listing views. A full-body front, a closer product detail, and one or two useful alternate angles usually tell shoppers more than many unrelated generations.
Creating edits from the approved image helps keep the model, location, lighting, and styling connected. It also gives the reviewer a clear source when checking each new angle. Learn more about the broader flat lay to on-model workflow.
4. Turn an approved image into product video
Use the strongest approved still as the first frame. Keep the movement simple and product-focused: a natural turn, a small pose change, or a controlled camera move can add motion without hiding the garment.
Starting from an approved product image gives the video model a stable subject, outfit, setting, and composition. If you need a full turn, follow our guide to generate a fashion model 360 video with garment reference attachments.
Production checklist
- Input: upload clean front, back, and detail references where available.
- Hero image: approve garment color, fit, construction, and styling first.
- Listing views: create only the angles that help a shopper understand the product.
- Video: animate the strongest approved still with simple, controlled motion.
- Review: compare every output with the original product before publishing.
Build the workflow for a full fashion catalog
This tutorial covers one listing from start to finish. For model selection, input preparation, quality control, budgeting, and batch production, read the complete AI fashion product photography guide.
Uwear Studio
Turn your garment packshots into listing-ready visuals
Upload a product, generate the first on-model image, add camera angles, and create product video in one visual production workflow.