How to Generate a Fashion Model 360 Video With Uwear and Kling 3 Pro
Fashion teams often want a simple result: a model wearing the product, turning cleanly so shoppers can see the front, side, and back of the garment. The hard part is that AI video models need enough visual context to understand what the back of the item should look like.
Uwear now supports Kling 3 Pro reference attachments for video generation. That means you can start from a strong front-facing model image, attach reference images that show the back or construction details of the garment, and ask Uwear to generate a smoother AI fashion model 360 video.
Short version: use the model photo as the first frame, attach the back-view garment reference, choose Kling 3 Pro, and prompt for a continuous 360 turn. The attachment guides the garment details without forcing the video to end on a separate last frame.
Watch the Workflow
This screen recording shows the full process inside Uwear: uploading the jersey front and back, generating the full-body model image, using that image as the Kling 3 Pro first frame, attaching the back-view jersey reference, and creating the final looping 360 video.
Real Example: From Jersey Photos to a 360 Model Video
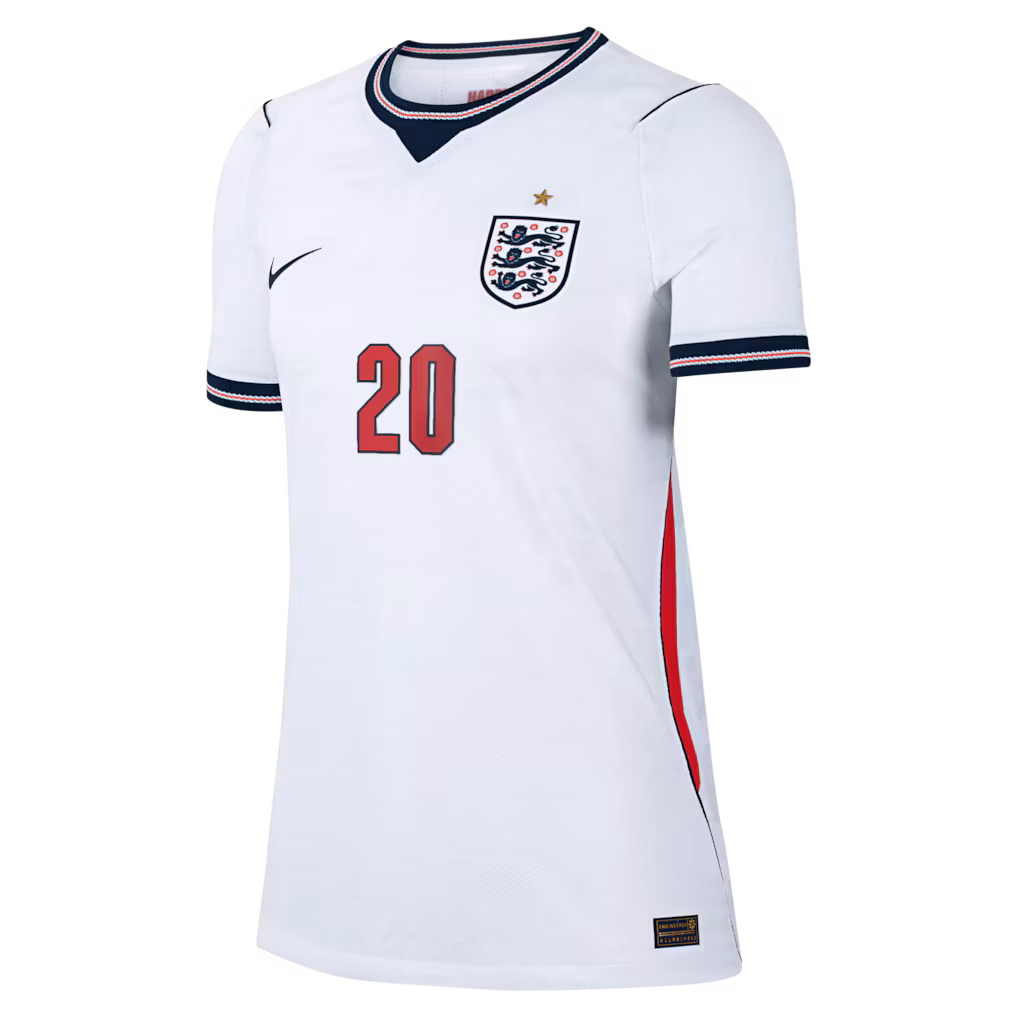
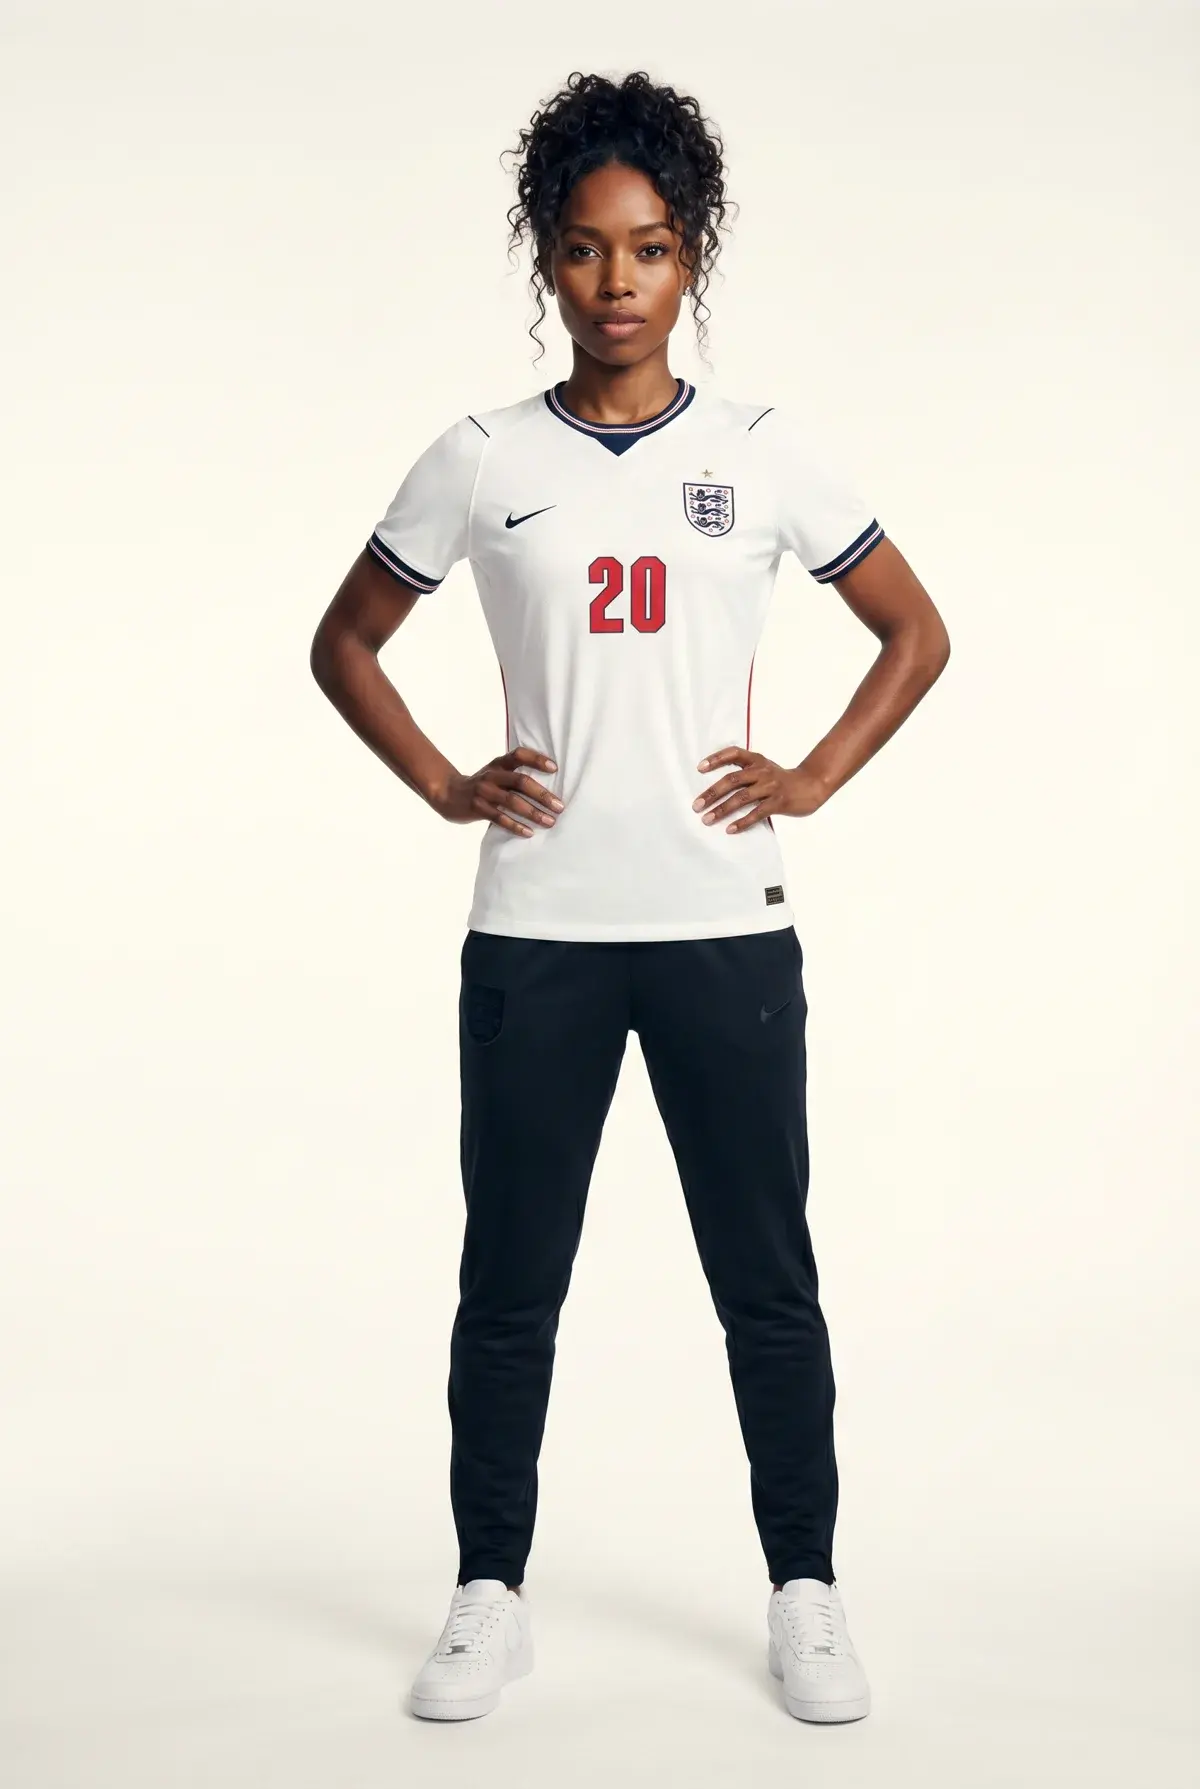
In the walkthrough, we start with two product photos of the Cole Palmer England National Team Nike Women's 2026 Home Match Authentic Jersey: one front view and one back view. First, Uwear generates a full-body model shot from the front product image. Then that generated model image becomes the first frame for a Kling 3 Pro video.

Why 360 Fashion Videos Were Hard Before
Before reference attachments, the safest workflow was usually a first frame and a last frame. The first frame showed the model from the front. The last frame showed the model or garment from the back.
That helped the model understand the destination, but it also created a constraint. The video often became a 180-degree turn that stopped on the last frame, or a 360-degree attempt that still had to turn again to land on the forced ending image. For fashion product video, that can feel less like a natural model turntable and more like a clip trying to satisfy two endpoints.
The old tradeoff
- -First frame only: cleaner motion, but the model may invent the back of the garment.
- -First and last frame: better back-view control, but the video is pulled toward a fixed ending pose.
- -Manual editing: possible, but slow when you need many product videos for an ecommerce catalog.
What Kling 3 Attachments Change
Kling 3 Pro can now use attached visual references in Uwear video generation. Instead of treating the back image as a hard final frame, Uwear passes the attached reference as an element that helps the model preserve garment details during motion.
This is especially useful for fashion items with back graphics, straps, hoods, logos, embroidery, seams, pockets, or fit details that are not visible from the front. The first frame controls the starting pose and styling. The attachment gives the model extra product information for the turn.
| Input | Best use | Why it matters |
|---|---|---|
| First frame | A front-facing model wearing the item. | Locks the model, outfit, styling, camera angle, and lighting. |
| Attachment | Back view, side view, or garment detail reference. | Gives Kling 3 the missing product information without forcing a last-frame ending. |
| Prompt | Describe a smooth 360 model turn and product reveal. | Guides motion, pacing, camera behavior, and how to use the attached reference. |
Step-by-Step: Generate a 360 AI Fashion Model Video
- Upload the front and back product photos. In this example, the front jersey image creates the model shot, and the back jersey image becomes the reference attachment.
- Generate a full-body model image. Use Uwear to create a clean front-facing model wearing the product.
- Open Video Generation in Uwear Studio. Select that generated model image as the first frame for the video.
- Choose Kling 3 Pro and 5 seconds. Kling 3 Pro is the video model that now supports reference attachments in this workflow.
- Attach the back-view garment image. Add the back of the item, a side view, or detail images that show what the model should preserve during the turn.
- Prompt for a continuous 360 turn. A short prompt can work: "the model is doing a 360". For more control, use the fuller prompt template below.
- Optional loop trick: use the same model image as the last frame too. This can help the generated video loop more seamlessly because the clip is encouraged to return to its starting composition.
- Review and iterate. If one moment is stronger than the full clip, save a frame and use it as the next start frame for another generation.
Prompt Template for a Fashion 360 Video
Here is a practical prompt you can adapt inside Uwear:
Create a smooth 360-degree fashion product video of the model wearing this garment. Start from the first frame, keep the same model identity, outfit fit, lighting, and camera distance. The model turns slowly and naturally to show the front, side, and back of the item, then continues the motion without snapping or reversing. Use the attached reference image for the back-view garment details, including construction, graphics, straps, seams, and logo placement. Keep the fabric realistic and avoid changing the product.
If the item has a specific back graphic or construction detail, name it directly in the prompt. For example: "preserve the large back print", "show the crossed straps accurately", or "keep the hood shape visible during the back view."
When to Still Use a Last Frame
Last frames are still useful when the final pose matters more than the natural turn. Use a last frame if the video must end on a very specific back-facing composition, a campaign pose, or a precise ecommerce frame.
For a fashion model 360 video, though, attachments are often a better first try. They give the AI model visual context for the unseen side of the garment while leaving the motion free to stay continuous. If the goal is a looping video, another useful option is to set the same image as both the first frame and the last frame, while still attaching the back-view garment photo for product detail.
Best Practices for Cleaner AI Product Videos
- -Use a strong first frame. The better the starting model image, the easier it is for Kling 3 to keep identity, garment fit, and camera stability.
- -Attach product-specific references. Back-view product photos, detail shots, and side images are more useful than generic mood references.
- -Keep the motion simple. A slow turn, stable camera, and short clip usually beat complex choreography for ecommerce product video.
- -Iterate from useful frames. If a clip has one excellent angle, save that frame and regenerate from that exact moment.
Generate AI fashion model videos in Uwear
Use Uwear Studio to create product photos, choose a start frame, attach garment references, and generate fashion videos with models built for ecommerce, ads, and social content.