Put Every New Outfit on Your Own Model Photos, at Scale
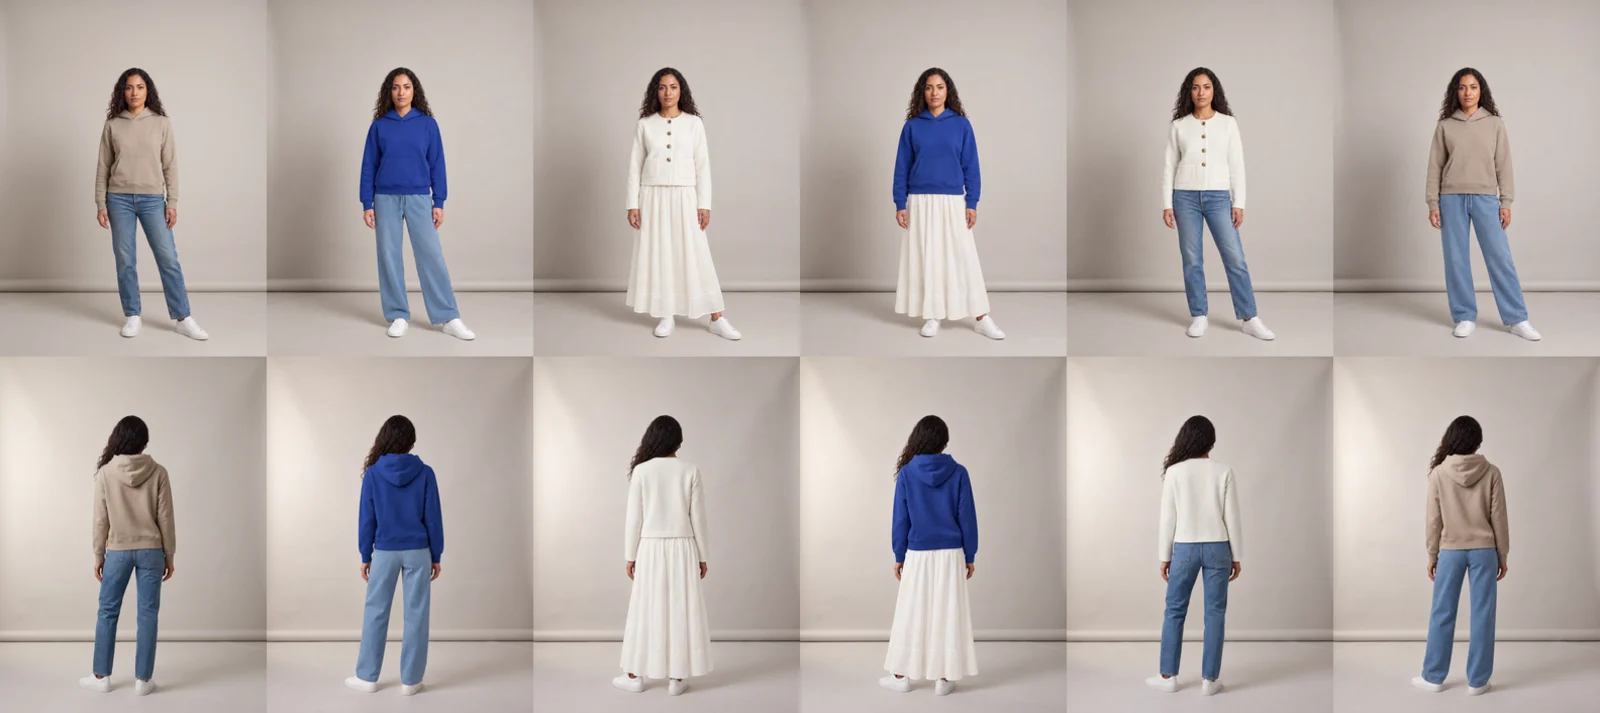
Many fashion brands now mix a real photoshoot with AI. They shoot their model once, in a few poses, and they want every new outfit on those same photos: the same person, the same poses, the same set. One swap by hand is easy to find. Doing it for every new outfit, on every pose, without touching each photo, is the hard part.
On Uwear, that step is an automation. You tag an outfit, and the automation puts it on each of your pose photos, with the right camera for each pose. We built one in our own workspace and tagged eight outfits. All eight runs succeeded, in 48 seconds to 1 minute 26 seconds each.
What goes in?
Three photos of one model: front, back and seated side, in one studio. They play the part of your photoshoot. For this article we made them on Uwear with a demo model and Gemini Pro, so that no real person's photo was changed. With your own shoot, you upload your photos instead.
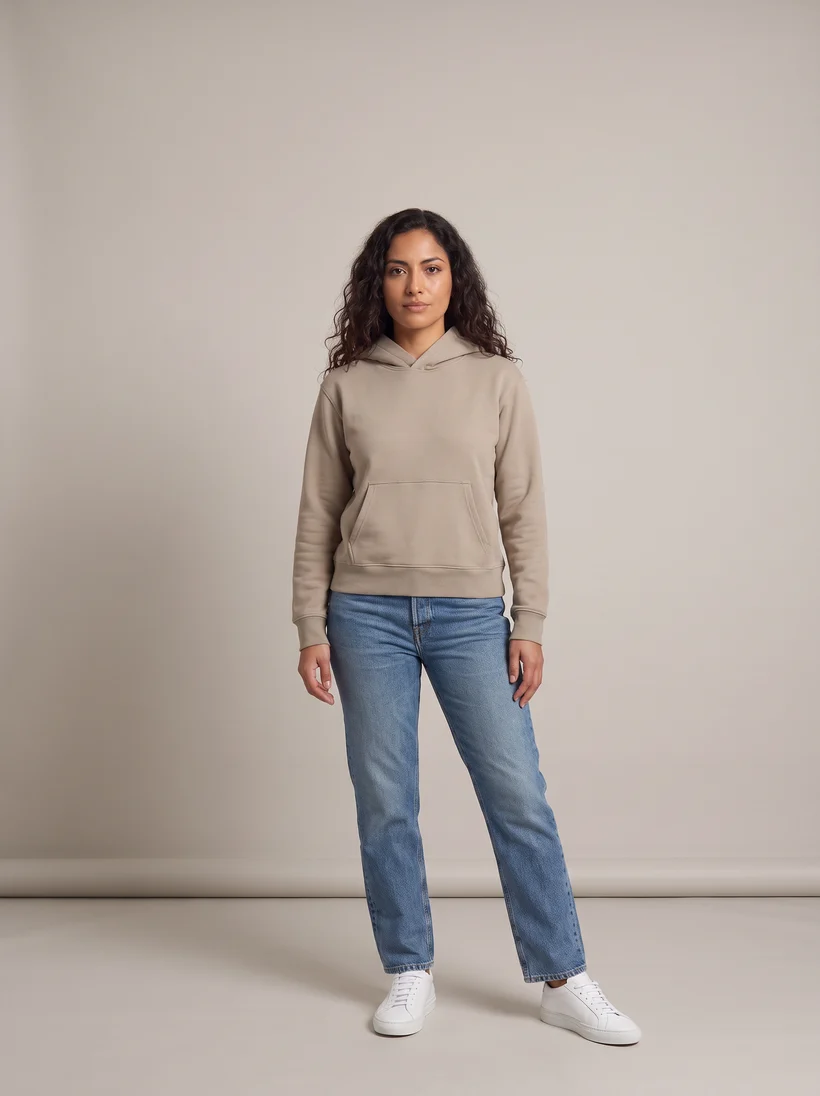
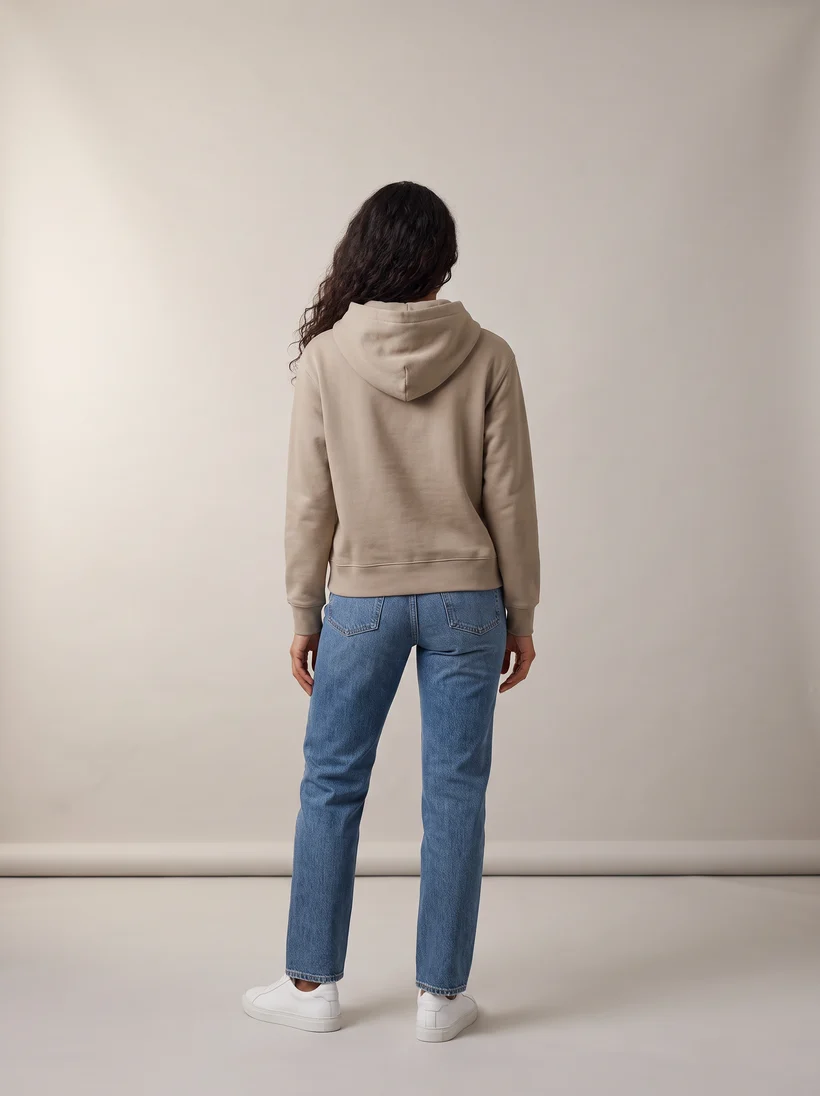
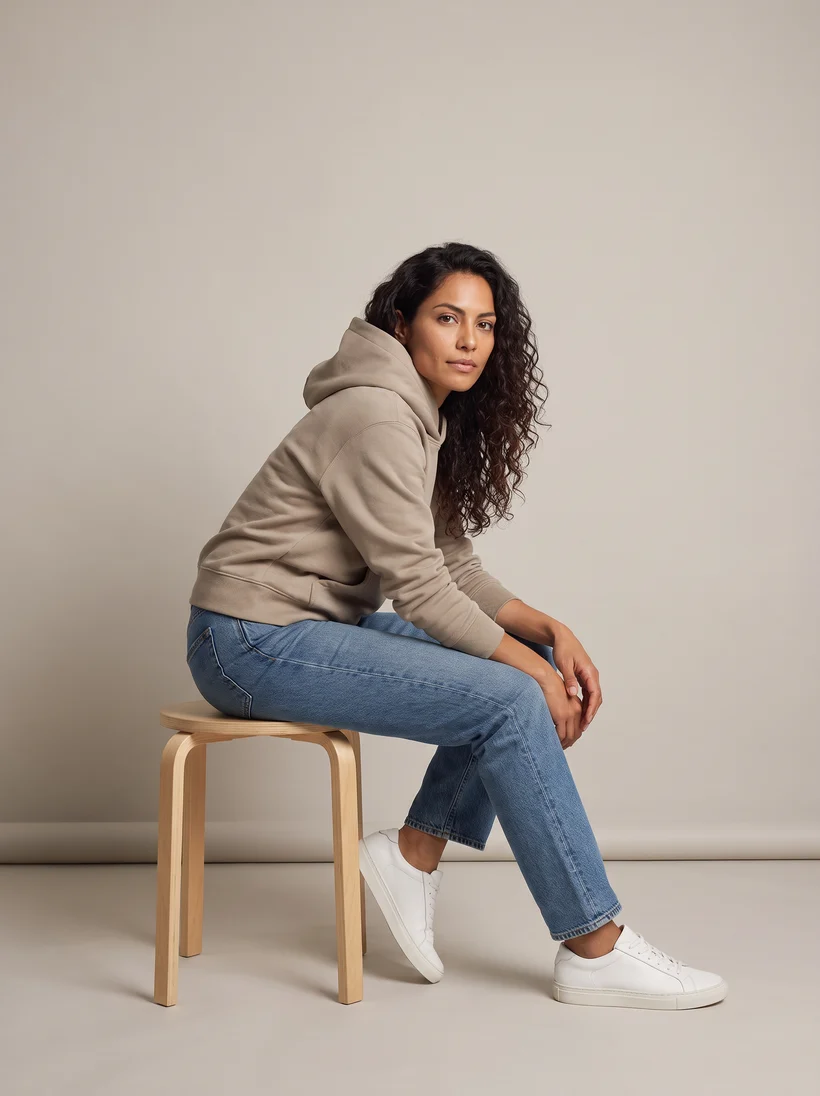
What does the automation look like?
One trigger and three Shoot steps. The trigger waits for a tag, here 3-pose shoot, to be added to an outfit. Each Shoot step gets the tagged outfit as its clothing, one pose photo as its reference, a camera, and a short prompt. The AI model is GPT Image 2.5 (High), at 2K and 3:4.
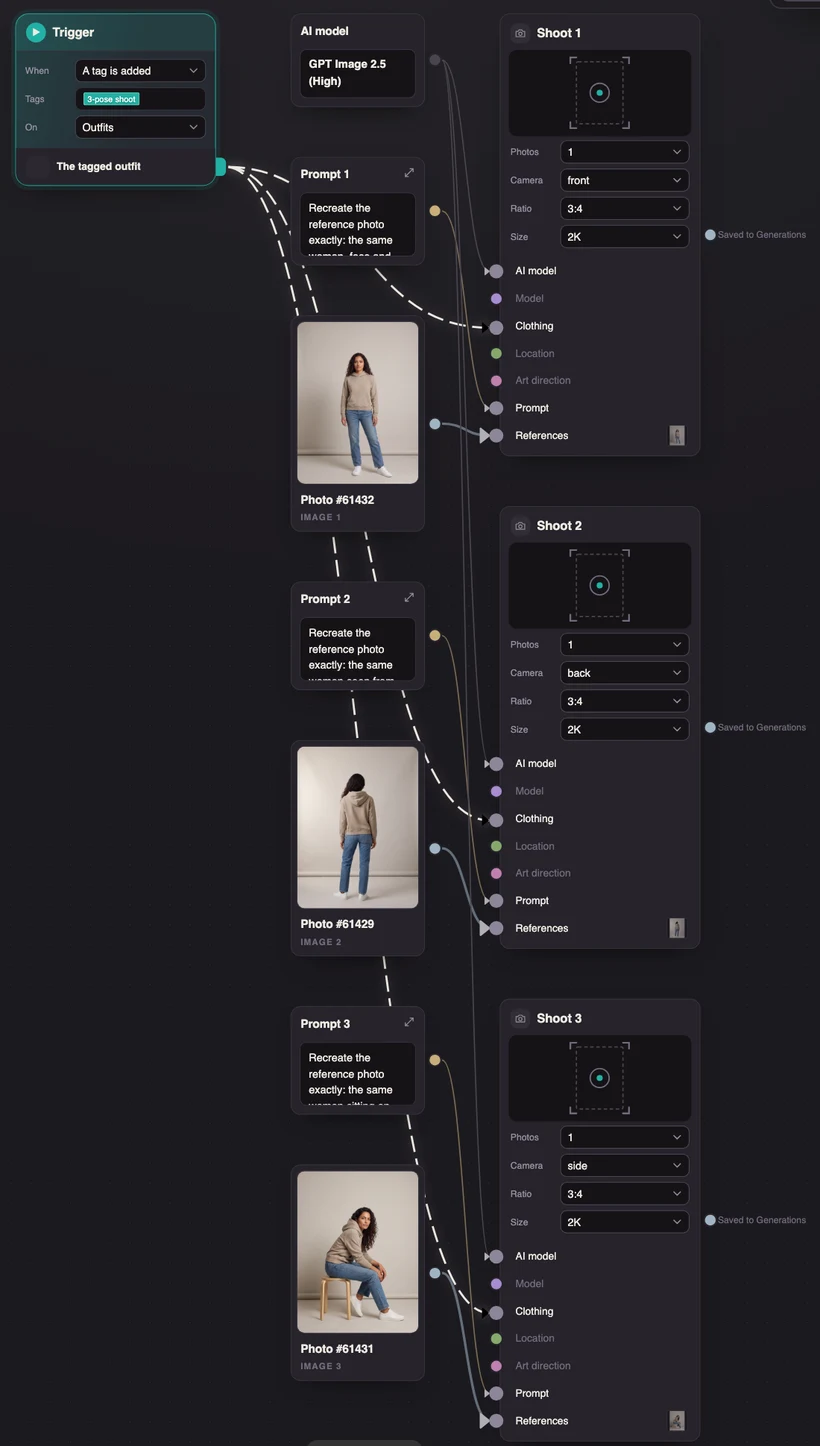
The prompt is the same idea in each step, written for its pose, and it only says what to show:
Recreate the reference photo exactly: the same woman seen from behind, her curly hair falling down her back, the same standing pose and full-length framing with the white sneakers in view, the same warm grey paper backdrop and soft light. She wears the supplied garments with their back side to the camera, with their exact colors, fabric and fit.
Write it as a description of the photo you want. A list of things to avoid tends to make the result worse.
Why does each pose have its own camera?
The camera is not only a framing. It tells Uwear which photos of each garment to send. With the back camera, the step sends the back view of every garment in the outfit, so a print on the back of a hoodie lands on the model's back, where it belongs. With the front camera, it sends the front views.
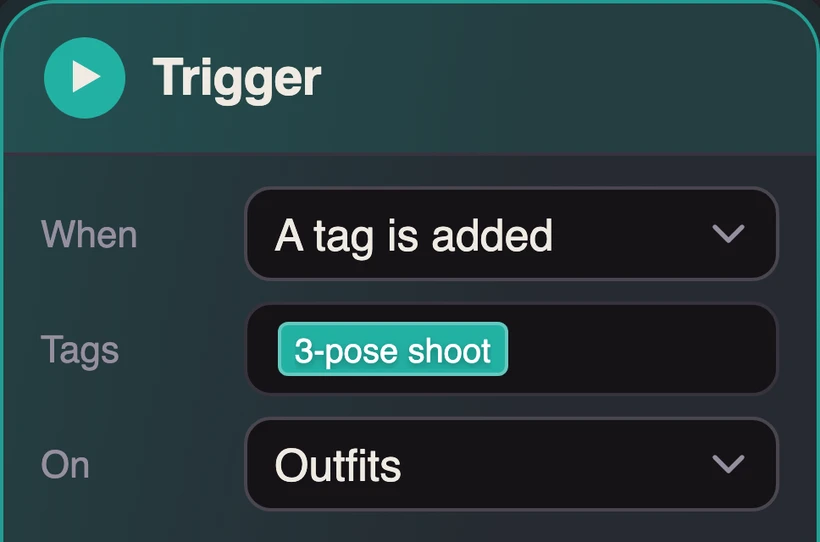
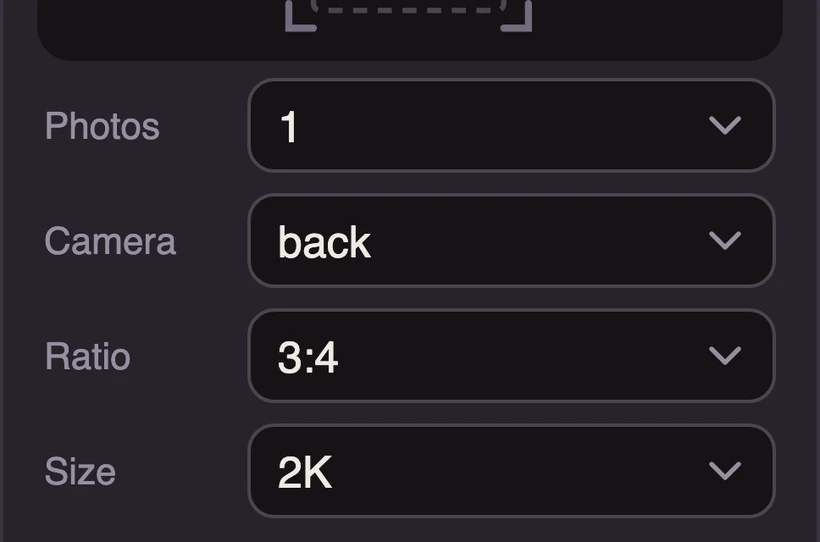
So set each step's camera to the view of its pose photo: front, back or side. Avoid "any angle" here, because it sends every view at once. And upload the back view of any garment that has something on its back.
What comes out?
We added the tag to a cobalt hoodie with light blue sweatpants. 48 seconds later, three photos were in Generations, already tagged:
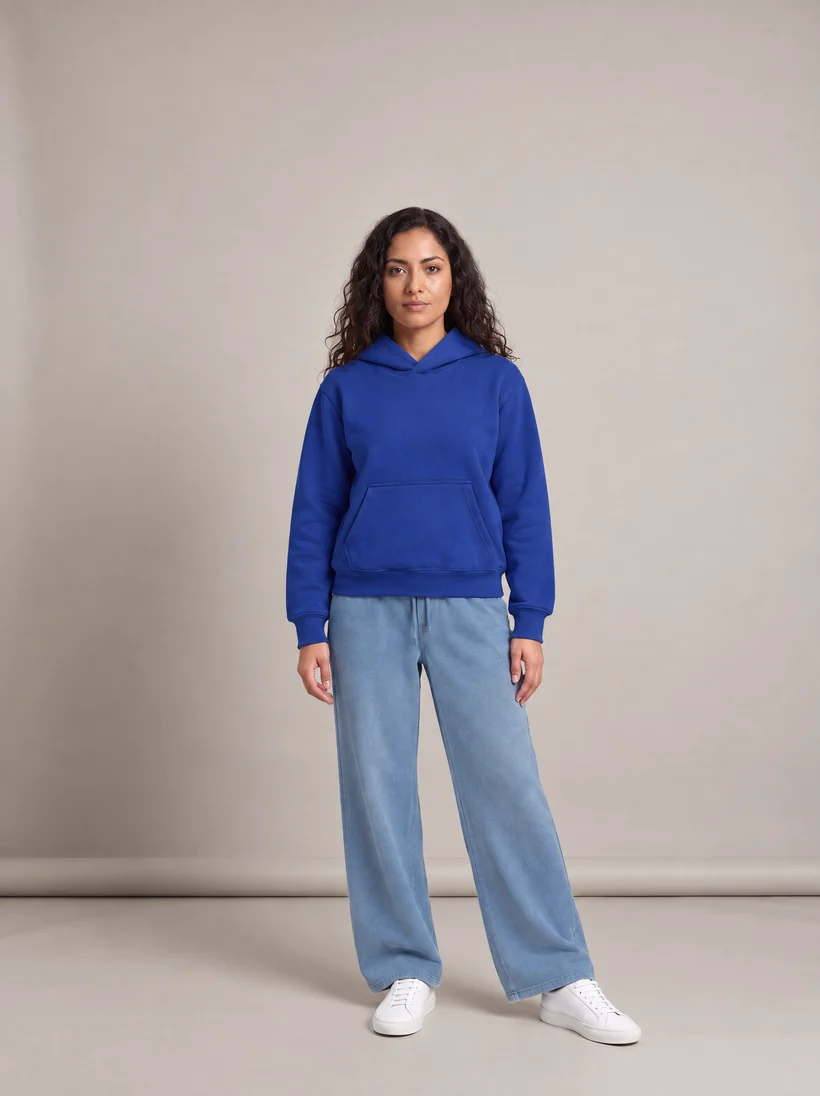
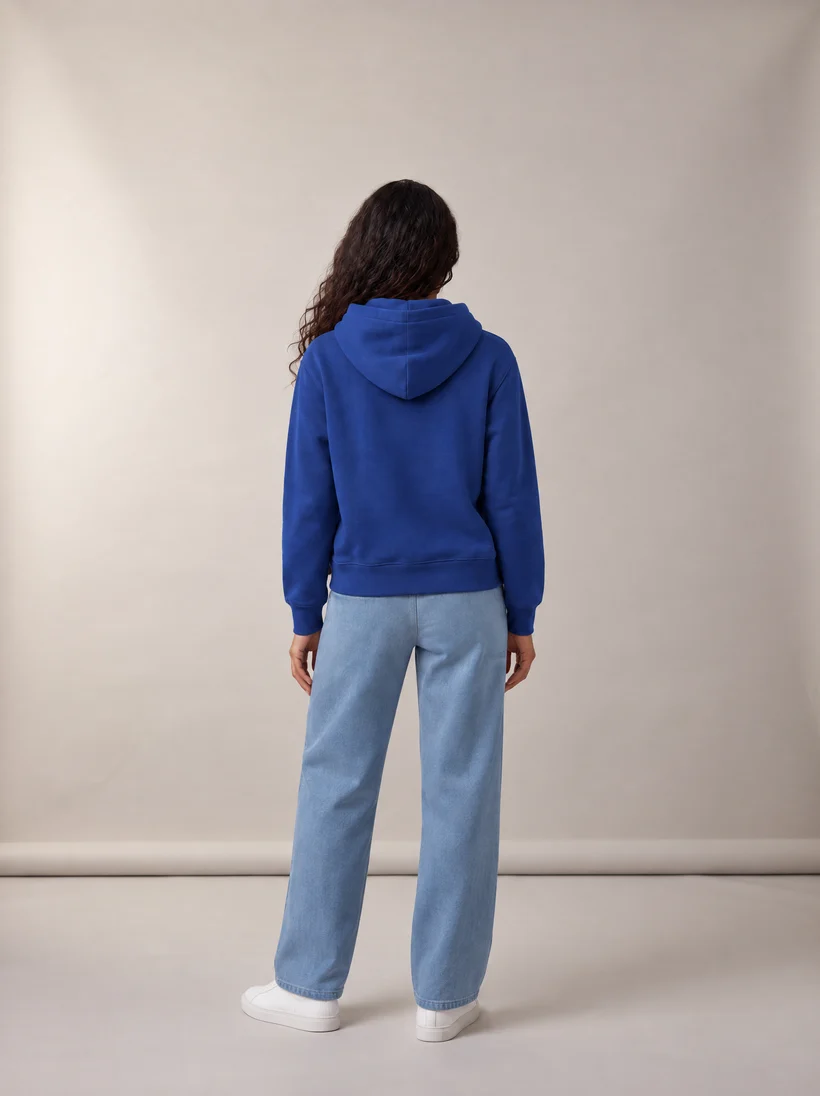
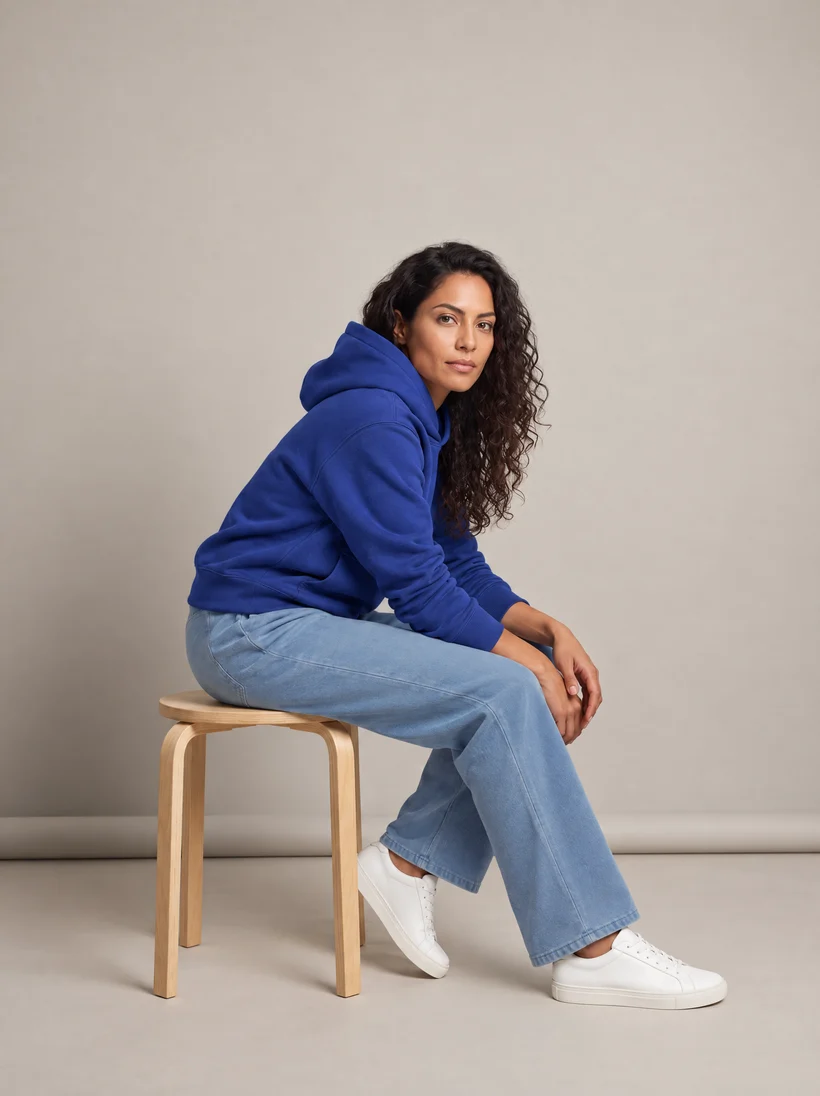
The step generates each photo again from the original, so the pixels are new. The face, the hair, the pose, the stool, the backdrop and the light stayed very close to the shoot. When we laid each new photo over its original, the head, the hands and the sneakers fell in almost the same place. The largest shift was in one seated pose, where the model sat a little further forward. Check each photo before you publish, as you would check a retouch.
What happens when you tag eight outfits?
Each tag starts one run. We tagged eight outfits, and some of the runs worked at the same time. Each run made its three photos for 18 credits. These are the durations from the runs log:
| Tagged outfit | Three photos in |
|---|---|
| Cobalt hoodie, light blue sweatpants | 48 s |
| Cream knit jacket, white midi skirt | 49 s |
| Cobalt hoodie, white midi skirt | 1 min 2 s |
| Cream knit jacket, straight jeans | 1 min 16 s |
| Taupe hoodie, light blue sweatpants | 1 min 9 s |
| Taupe hoodie, white midi skirt | 1 min 0 s |
| Cobalt hoodie, straight jeans | 50 s |
| Cream knit jacket, light blue sweatpants | 1 min 26 s |
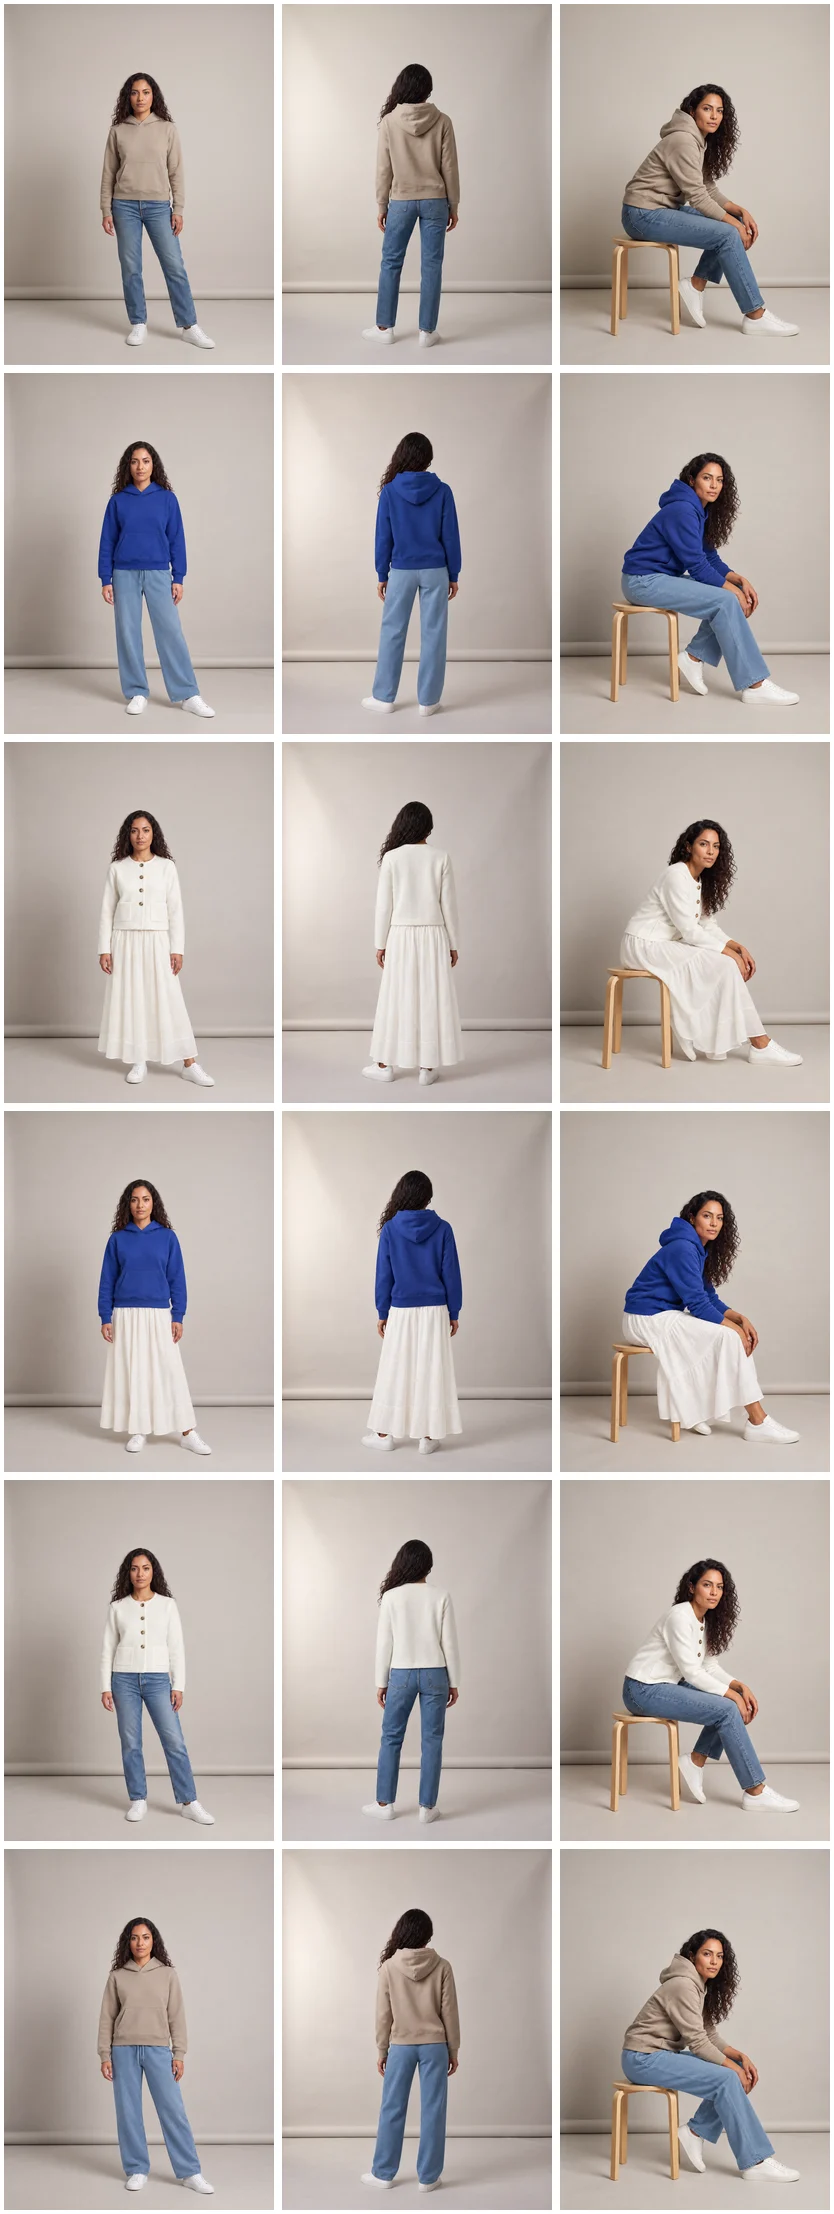
The catalog grows by rows. The shoot stays the same, and the next outfit costs a tag.
How do you set it up?
- Upload your pose photos to Files, or use photos you already have in Generations.
- Create an automation. Set the trigger to "A tag is added", on Outfits, and pick or create the tag.
- Add one Shoot step per pose. Wire the trigger to its Clothing input, add the pose photo as its reference, and set the camera to that pose's view.
- Write one prompt per step that describes the pose photo and asks for the supplied garments.
- Pick the AI model, the size and the ratio. We used GPT Image 2.5 (High), 2K, 3:4.
- Test run it with one outfit, look at the three photos, then publish and turn it on.
- Tag outfits. Each tag is one run.
The photos land in Generations with the trigger's tag, so the team can filter a season's shots by that tag. See how triggers, steps and runs work on the automation page, and a garment-triggered shoot with its full cost in how to automate fashion photoshoots.
Questions about new outfits on your model photos
Can AI put new clothes on my existing model photos?
Yes. On Uwear, an automation takes one of your model photos as a reference and generates a new photo in the outfit you tagged, with the person, pose, framing, backdrop and light kept close to the original. In our test, eight outfits on three poses came back in 48 seconds to 1 minute 26 seconds per outfit.
Does the new photo keep the exact pixels of my original photo?
No. The step generates a new photo from your original, so it is not a cut-and-paste of the old pixels. In our runs the face, hair, pose, stool and light stayed very close to the original. Small details can move: a strand of hair, the angle of a hand, the exact position of a seated pose. Check each photo before you publish it.
Why does each pose need its own camera?
The camera tells Uwear which garment photos to send with the step. The back camera sends the back view of each garment, so a print on the back of a hoodie lands on the back of the model. Set the camera to the view of the pose photo (front, back or side), not to any angle, and upload the back view of garments that have something on the back.
What starts the automation?
A tag. The trigger is "A tag is added" on Outfits, with the tag you choose. When anyone on the team adds that tag to an outfit, the automation runs once for that outfit, and the photos arrive in Generations with the same tag.
Can I use photos from a real photoshoot?
Yes. Upload your shoot photos to Files and use them as the references in the Shoot steps. Before you do, make sure your agreement with the model and the photographer covers AI-generated variations of the photos. In this article the original shoot was itself made on Uwear with a demo model, so no real person was changed.
How much does one outfit cost?
In this test, 18 credits per outfit: three photos at 6 credits each with GPT Image 2.5 (High) at 2K. The cost depends on the AI model, the size and the number of poses. The automation shows its estimated credits per run before you publish it.