How fashion brands scale AI product photography across hundreds of SKUs without a studio
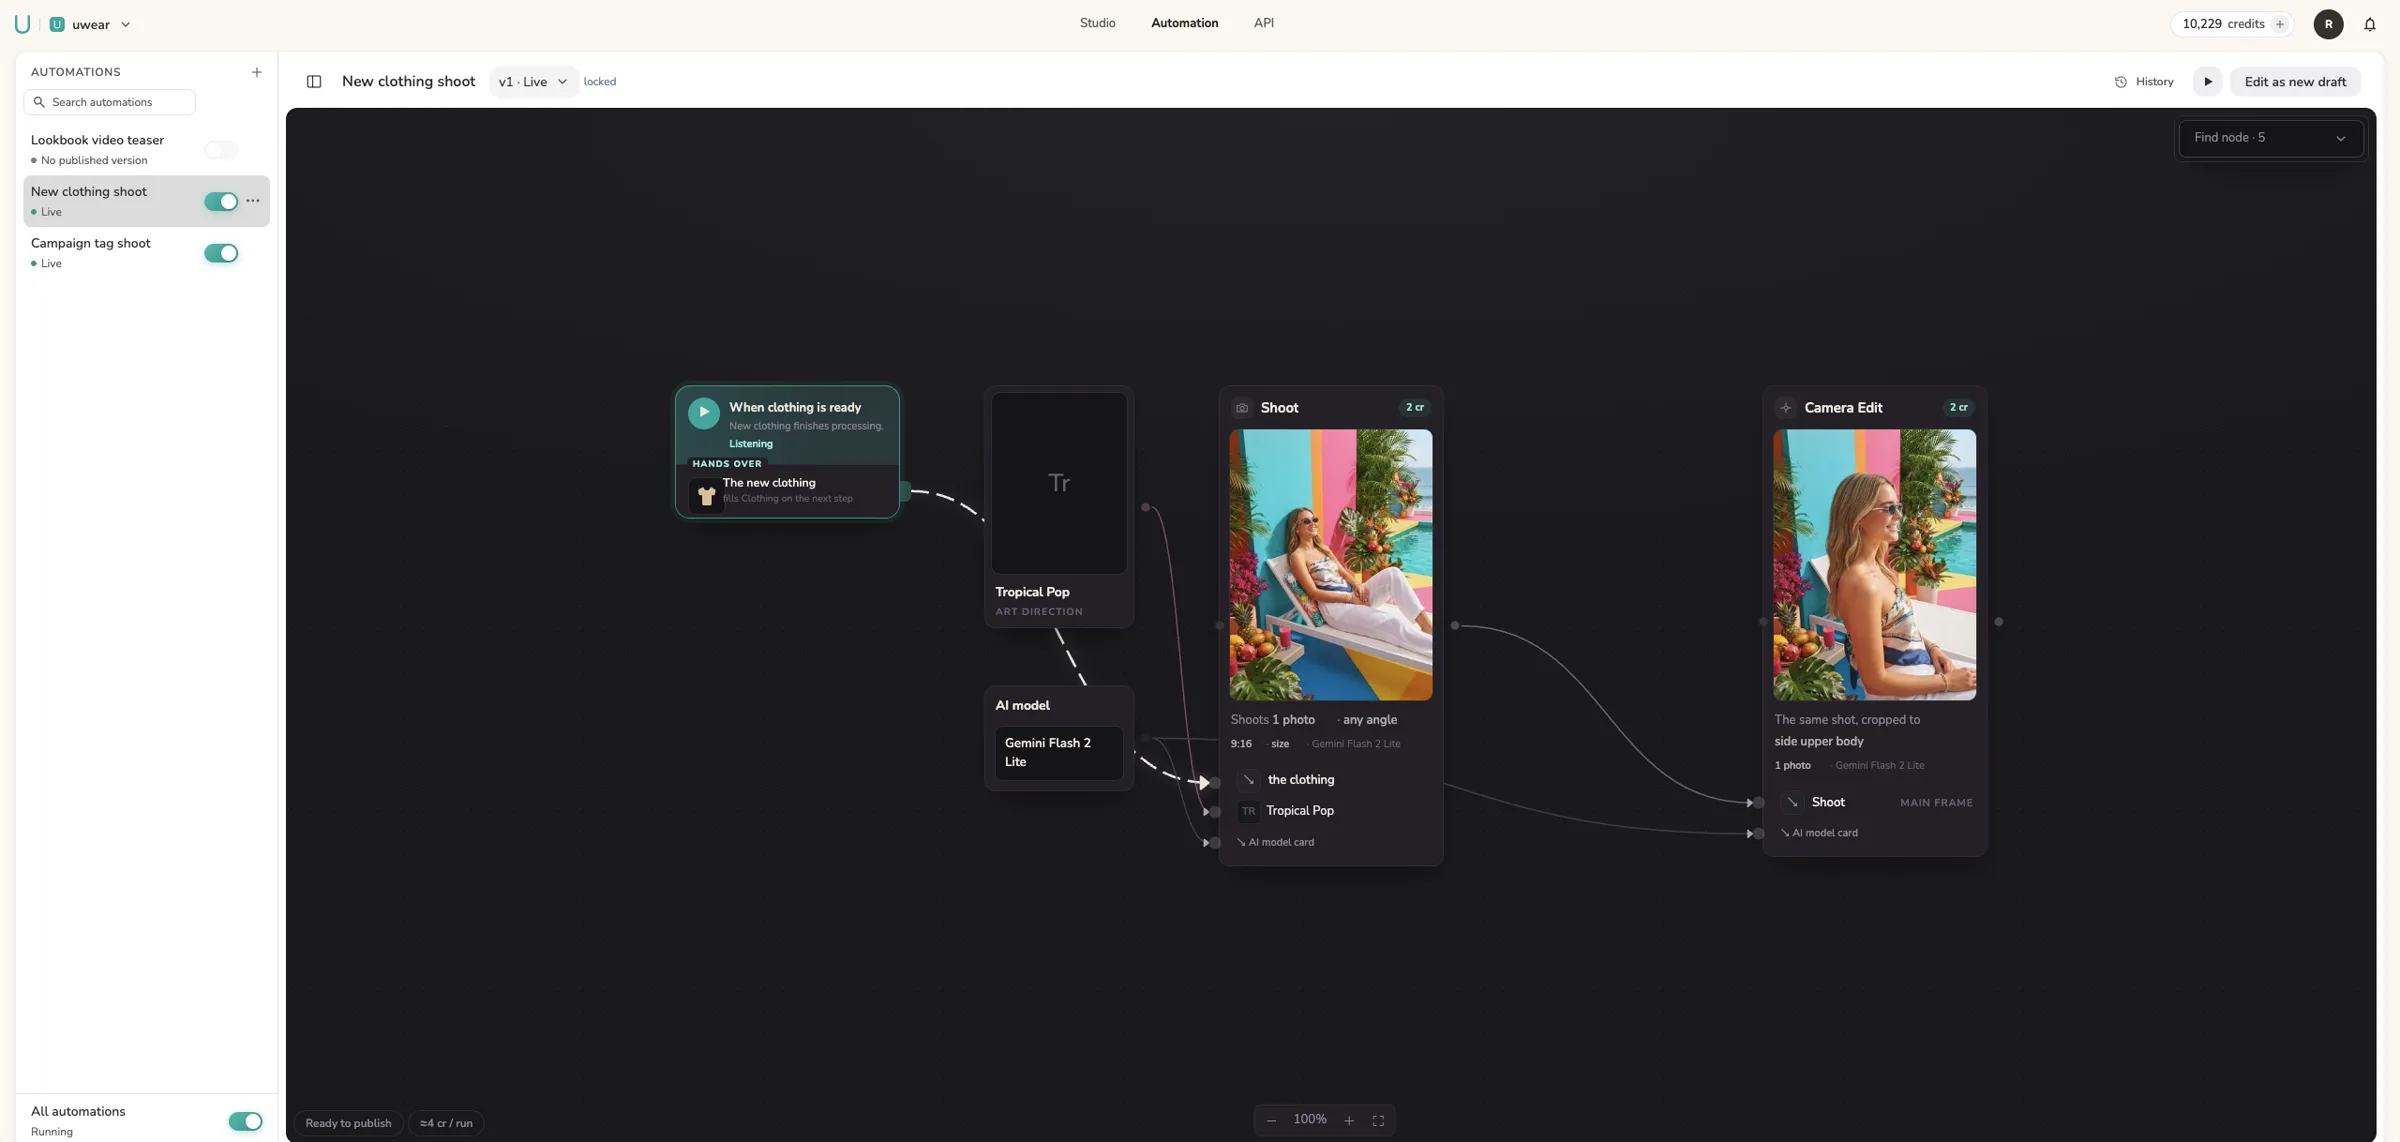
Product photography stops scaling at a few hundred SKUs for two reasons: every on-model image costs a studio day, and every shoot day drifts a little from the last one. Fashion brands that get past that point stop treating listing photos as a shoot and start treating them as a step that runs when a garment is added, with the model, the art direction, and the quality check saved once. This post shows how that works on Uwear, what a studio charges per image, and what one real automated run cost.
In 2026, studios quote roughly $12 to $75 for a flat lay, $25 to $80 for a ghost-mannequin shot, and $100 to $500 for an on-model image, before styling, retouching, and reshoots.[1],[2] On Uwear, one automated run in our own workspace made two on-model photos of a pair of sunglasses for $0.40, that is 4 credits at $0.10 each on the Gemini Flash 2 Lite model, 39 seconds after the upload finished. Price depends on the model selected and on the number of steps; this run was two, a shoot and a re-frame. Nobody briefed it.
Why does product photography stop scaling at a few hundred SKUs?
Because it is bought by the day. A studio day covers a fixed number of garments, so a catalog that adds pieces every week is always waiting for the next booking, and each booking has its own light, its own model availability, and its own retoucher. The per-image quotes below are the visible part of that cost.
How much does product photography cost per image in 2026?
The ranges below are what studios and agencies publish for ecommerce clothing work. They are quotes for a finished image, and they move with the shot type: the more of a person is in the frame, the more people are on set.
| Shot type | Quoted rate per image | Who is on set |
|---|---|---|
| Flat lay | $12 to $75[1],[2] | Photographer, stylist |
| Ghost mannequin | $25 to $80[1],[2] | Photographer, stylist, retoucher for the composite |
| On-model | $100 to $500[1],[2] | Photographer, model, stylist, hair and make-up, retoucher |
| Editorial or campaign | $300 and up[1],[2] | All of the above, plus location and art direction |
Volume helps. Brands shooting more than fifty SKUs at once report negotiating flat and ghost-mannequin work down to the $20 to $40 range.[2] On-model work does not fall as far, because the model, the stylist, and the retoucher are paid by the day whether the day covers ten garments or forty.
What does the quote leave out?
The per-image number is rarely what a brand pays. The same rate guides list what gets added after the quote: styling and steaming, model licensing and usage rights, a retouching pass per image, reshoots when a sample arrives late or a colour is off, and shipping the samples to the studio and back. Together they routinely push the effective cost to two or three times the quoted rate.[1],[3]
The cost that never appears on the invoice is time. A shoot is booked days or weeks ahead, so a garment that lands the day after the shoot waits for the next one, and the product page waits with it. For a catalog that adds pieces every week, the photography schedule quietly becomes the launch schedule.
How do you keep AI product photos consistent across hundreds of SKUs?
Consistency across a catalog does not come from prompting harder. It comes from saving the three things that make photos look alike and reusing them for every garment.
- -The model. Pick one from the library or create your own once. The same model wears every garment the automation shoots, and a Swap Model step covers the looks that need a second one.
- -The art direction. Location, light, framing, and mood are saved as one asset and carried into every run, so the photo for SKU 400 sits beside the photo for SKU 1.
- -The quality check. An automatic reviewer compares each take against the product photo you uploaded and retries the ones that drift, within the allowance you set. What reaches your library is already sorted.
What does an AI product photo cost when the automation makes it?
The automation in the image at the top of this post is live in our own workspace. It waits for a garment to finish processing. When one does, it shoots the garment on a saved model in a saved art direction called Tropical Pop, using the Gemini Flash 2 Lite engine, then re-frames the shot to a second angle. We uploaded a pair of sunglasses and did nothing else. These are the two photos it made:
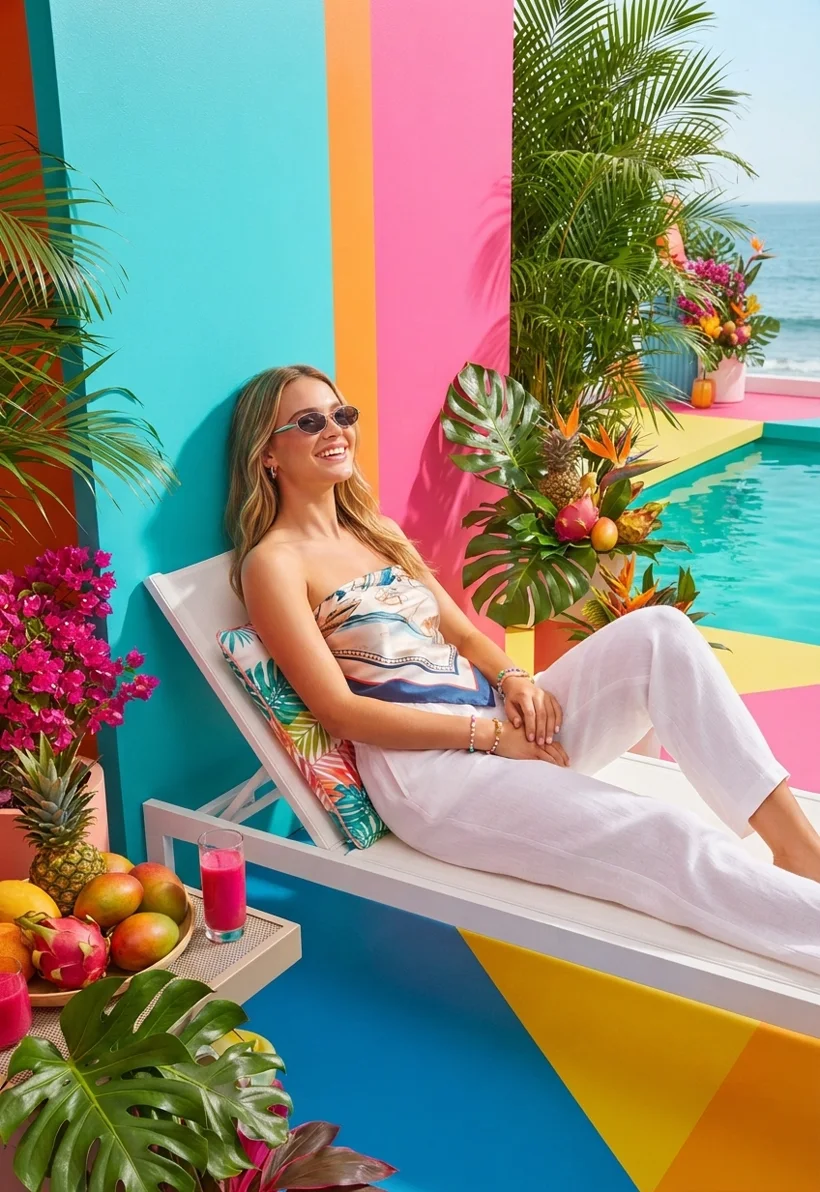
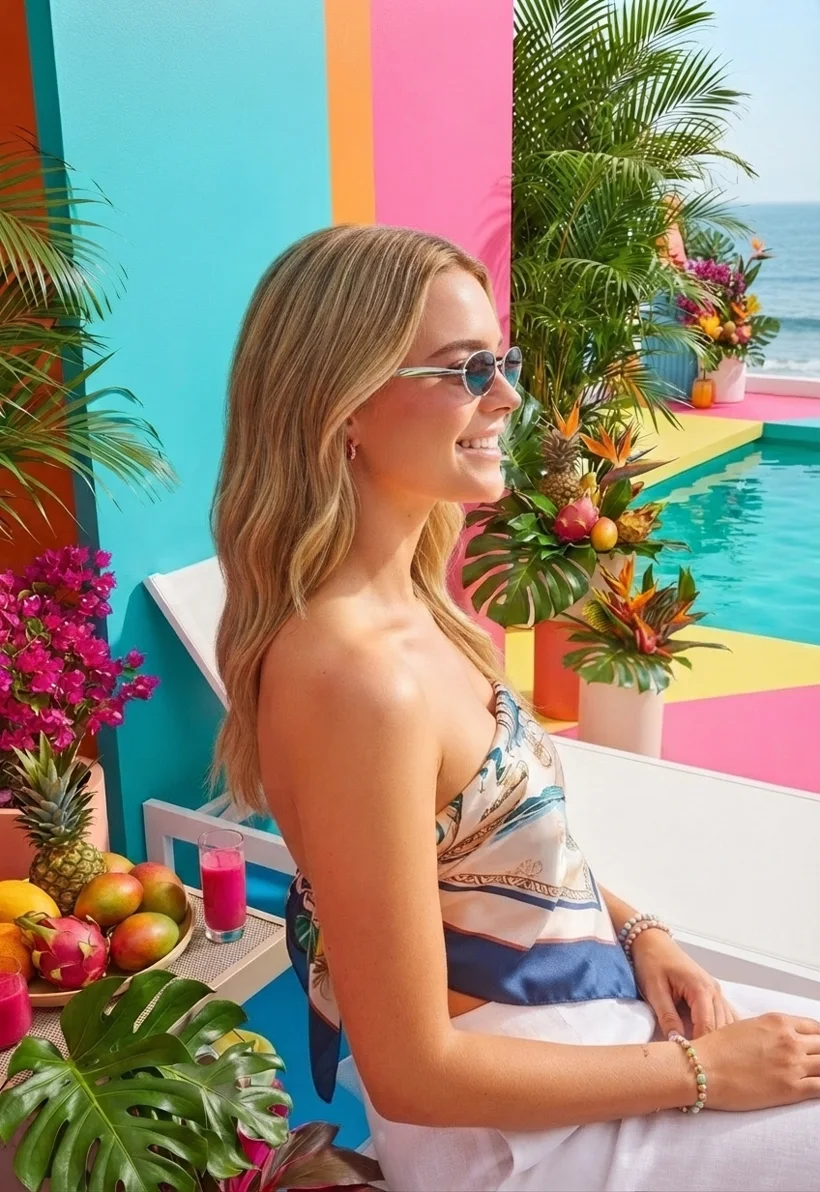
| Photos made | 2 on-model photos, both tagged pdp-ready |
|---|---|
| Time from upload to tagged photos | 39 seconds |
| Cost | $0.40: 4 credits at $0.10 per credit |
| AI model | Gemini Flash 2 Lite, 2 credits a step. Price depends on the model selected and on the number of steps |
| Steps | 5, all succeeded |
| People involved after setup | 0 |
Automations spend credits at the same rates as running the steps yourself, and the rules around the spend are strict because nobody is watching. The builder totals the estimate per run before you publish, and the worst case if every take is rejected by the quality check and re-shot the full allowance. Each run reserves its estimate when it starts; if credits are short it is rejected up front instead of stopping halfway, and a step that fails on our side refunds what it reserved. Adding a garment or a tag first shows which automations will fire, how many runs that means, and up to how many credits.
How do you set up AI product photography on autopilot?
- 1Save the shoot you keep repeating. The model, the location, the art direction, and the crops you brief for every new product are saved once in your workspace and reused by every run.
- 2Wire it to a trigger in the Automation tab. A garment being added, a tag being applied, or an outfit being created. Add a quality-check step if you want the takes sorted before they reach you, and an export step to tag the results or send them to your systems.
- 3Publish and switch it on. The published version is frozen and shows its cost per run. Your next garment does the rest.
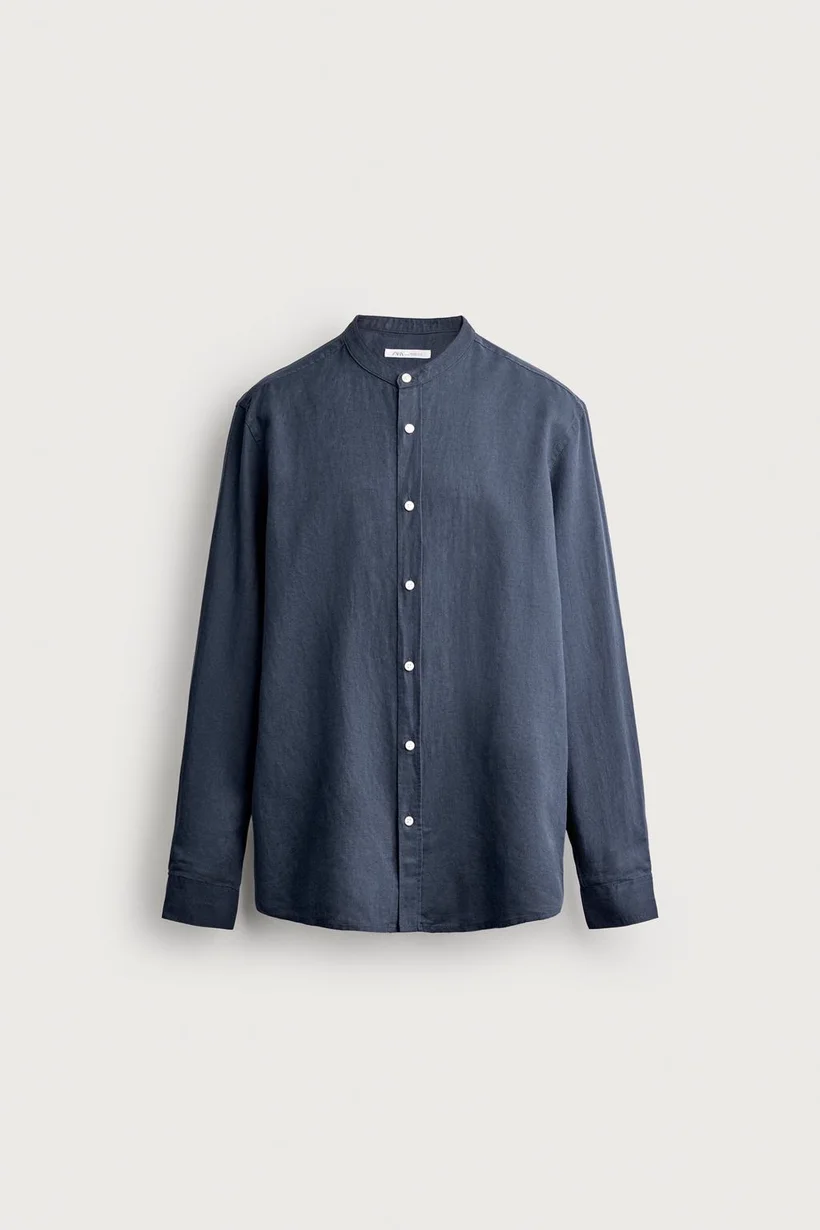
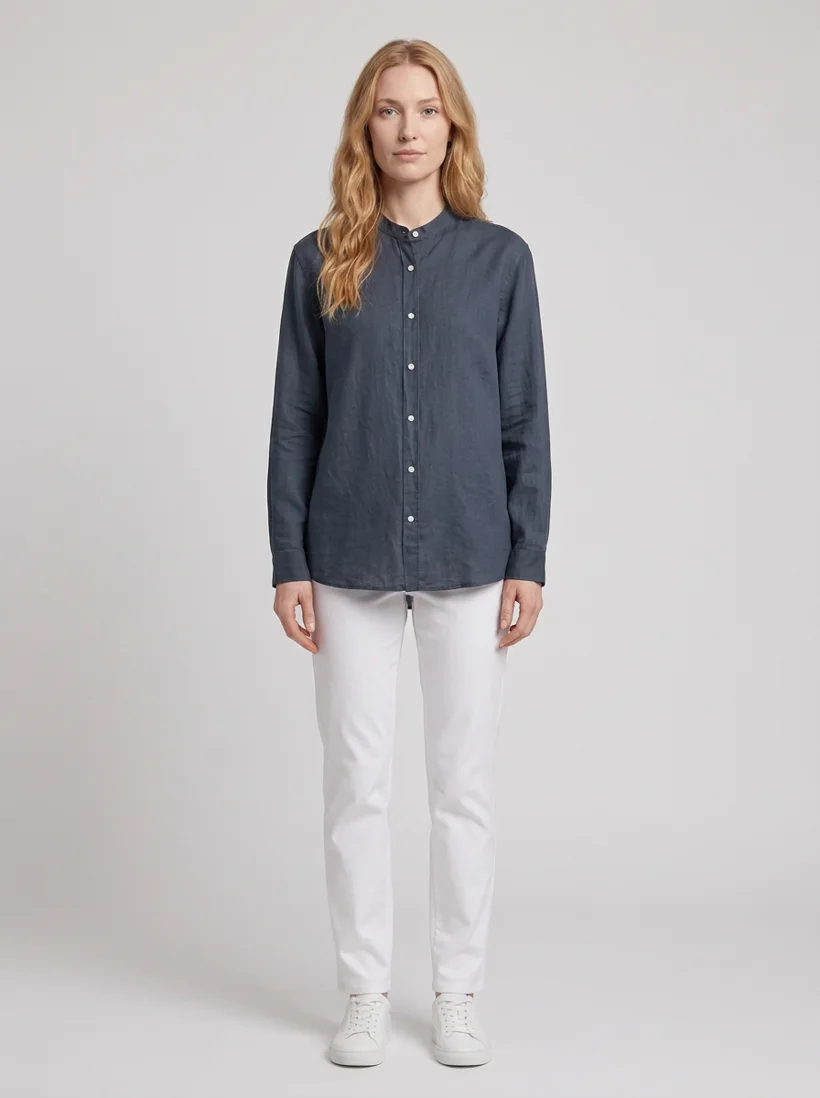
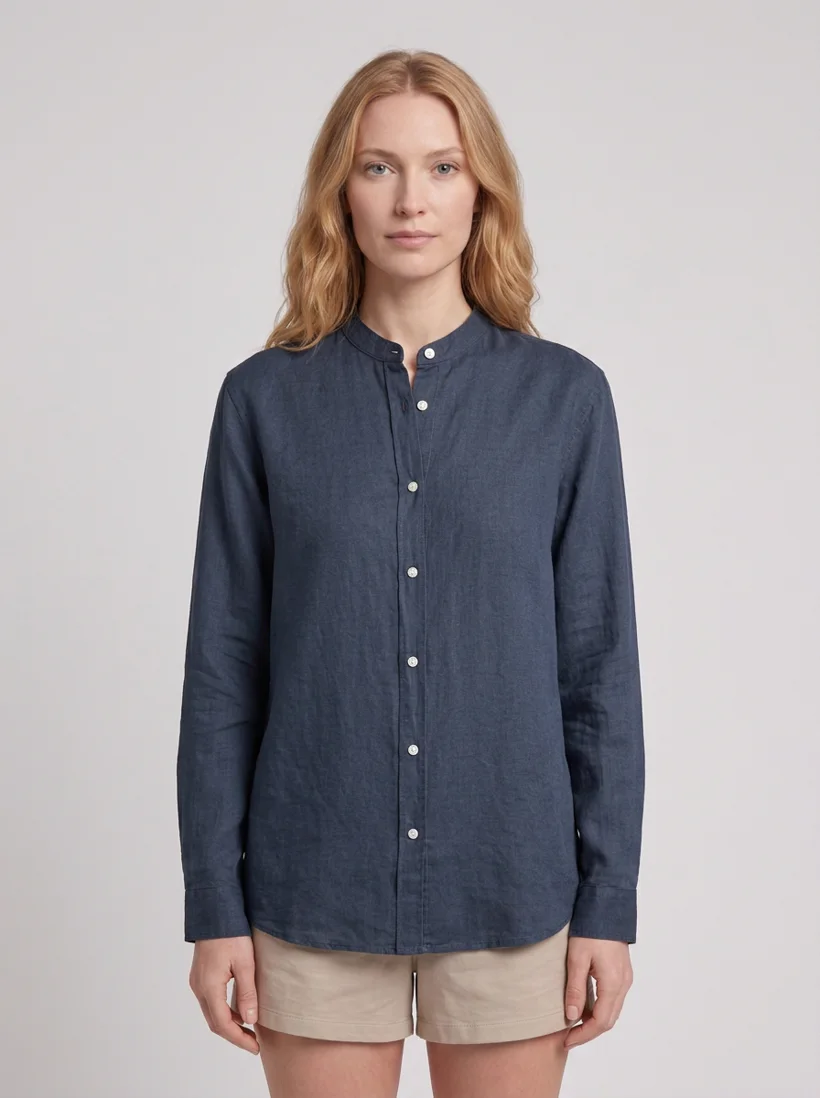
A product-page set for a new garment looks like this: the upload, a full-body shot, and an upper-body detail, all from one automation on the same model.
When is a studio shoot still worth paying for?
When the image is the campaign. A hero visual with a particular photographer, a location, or talent that is part of the story earns its day rate. The listing photos behind every product page are a different job: they have to exist for every garment, look the same across the catalog, and be ready the day the garment is. That is the job an automation does as the garments arrive, and it leaves the shoot budget for the images that need a shoot.
If you add only a handful of products a season, you do not need an automation either. Run the same shoot by hand in Studio; the automation is for the brief you find yourself submitting every week.
Where does this fit beside batch runs and MCP?
Batch Workflows remain the way to run one large job you start yourself: a whole season submitted at once. Uwear MCP remains the way to drive production from the AI assistant you already use, with a costed brief you approve in chat. Production Automation, live in every Uwear workspace since September 2026 as the Automation tab next to Studio, covers the third case: the shoot nobody should have to start, because the garment already did. All three share the same library, the same art direction, and the same credits. The full picture, with the comparison against a studio shoot, is on the AI product photography on autopilot page.
Frequently asked questions
How do I create consistent product photos for a fashion brand with hundreds of SKUs?
Save the three things that make photos look alike once, then reuse them for every garment: the model, the art direction (location, light, framing), and the crops. On Uwear those are saved assets, so an AI product photo for SKU 400 uses the same model and set as SKU 1 without anyone re-describing them. A quality-check step compares each take against the product photo and retries the ones that drift, and an export step tags the results so the product page team knows which photos are ready.
How much does clothing product photography cost per image?
Published 2026 rate guides put flat lays at roughly $12 to $75 per image, ghost-mannequin shots at $25 to $80, and on-model photos at $100 to $500, with editorial work from $300. Those are studio quotes before styling, model licensing, retouching, and reshoots, which the same guides say routinely push the effective cost two to three times higher.
What does an AI product photo cost on Uwear when the automation makes it?
One real run in our workspace made two on-model photos of a pair of sunglasses for $0.40 in 39 seconds: 4 credits at $0.10 each on Gemini Flash 2 Lite. Price depends on the AI model selected and on the number of steps, since each shoot, edit, or video is billed at the rate of its model; this run was two steps. Uwear is priced in credits, and automations spend them at the same rates as doing the steps yourself. The builder totals the estimate per run, and the worst case with quality-check re-shoots, before you publish.
How do fashion brands scale product photography without a studio?
By moving the listing photos, the ones that have to exist for every garment, off the shoot calendar. A studio day covers a fixed number of pieces and the rest wait for the next booking. An automation on Uwear shoots each garment as it is added, on the saved model and in the saved art direction, checks the takes, and tags them, so the photo schedule stops being the launch schedule. The studio budget goes to the campaign images that need a photographer.
How do you set up AI product photography on autopilot?
Save the shoot you keep repeating once: the model, the location, the art direction, and the crops. In the Automation tab, wire those settings to a trigger such as a garment being added, publish, and switch it on. Every garment added after that gets the same photos without a brief.
When is a studio shoot still worth paying for?
When the image is the campaign: a hero visual with a particular photographer, location, or talent that is part of the story. For the listing photos behind every product page, which have to exist for every garment and look the same across the catalog, an automation makes them as the garments arrive.
Set up your first automation
Open the Automation tab, wire the shoot you keep repeating to a trigger, publish, and switch it on. Your next garment does the rest.
Rates for every step are on the pricing page.
Sources
- [1] Razor Creative Labs, "Product Photography Cost Per Image 2026", accessed 2 September 2026. Rates are the publishers' own figures and change; check the linked pages before quoting them.
- [2] Adstronaut, "How Much Does Clothing Product Photography Cost Per Image? (2026 Breakdown)", accessed 2 September 2026. Rates are the publishers' own figures and change; check the linked pages before quoting them.
- [3] Nightjar, "The Real Cost of Product Photography in 2026: A Breakdown", accessed 2 September 2026. Rates are the publishers' own figures and change; check the linked pages before quoting them.